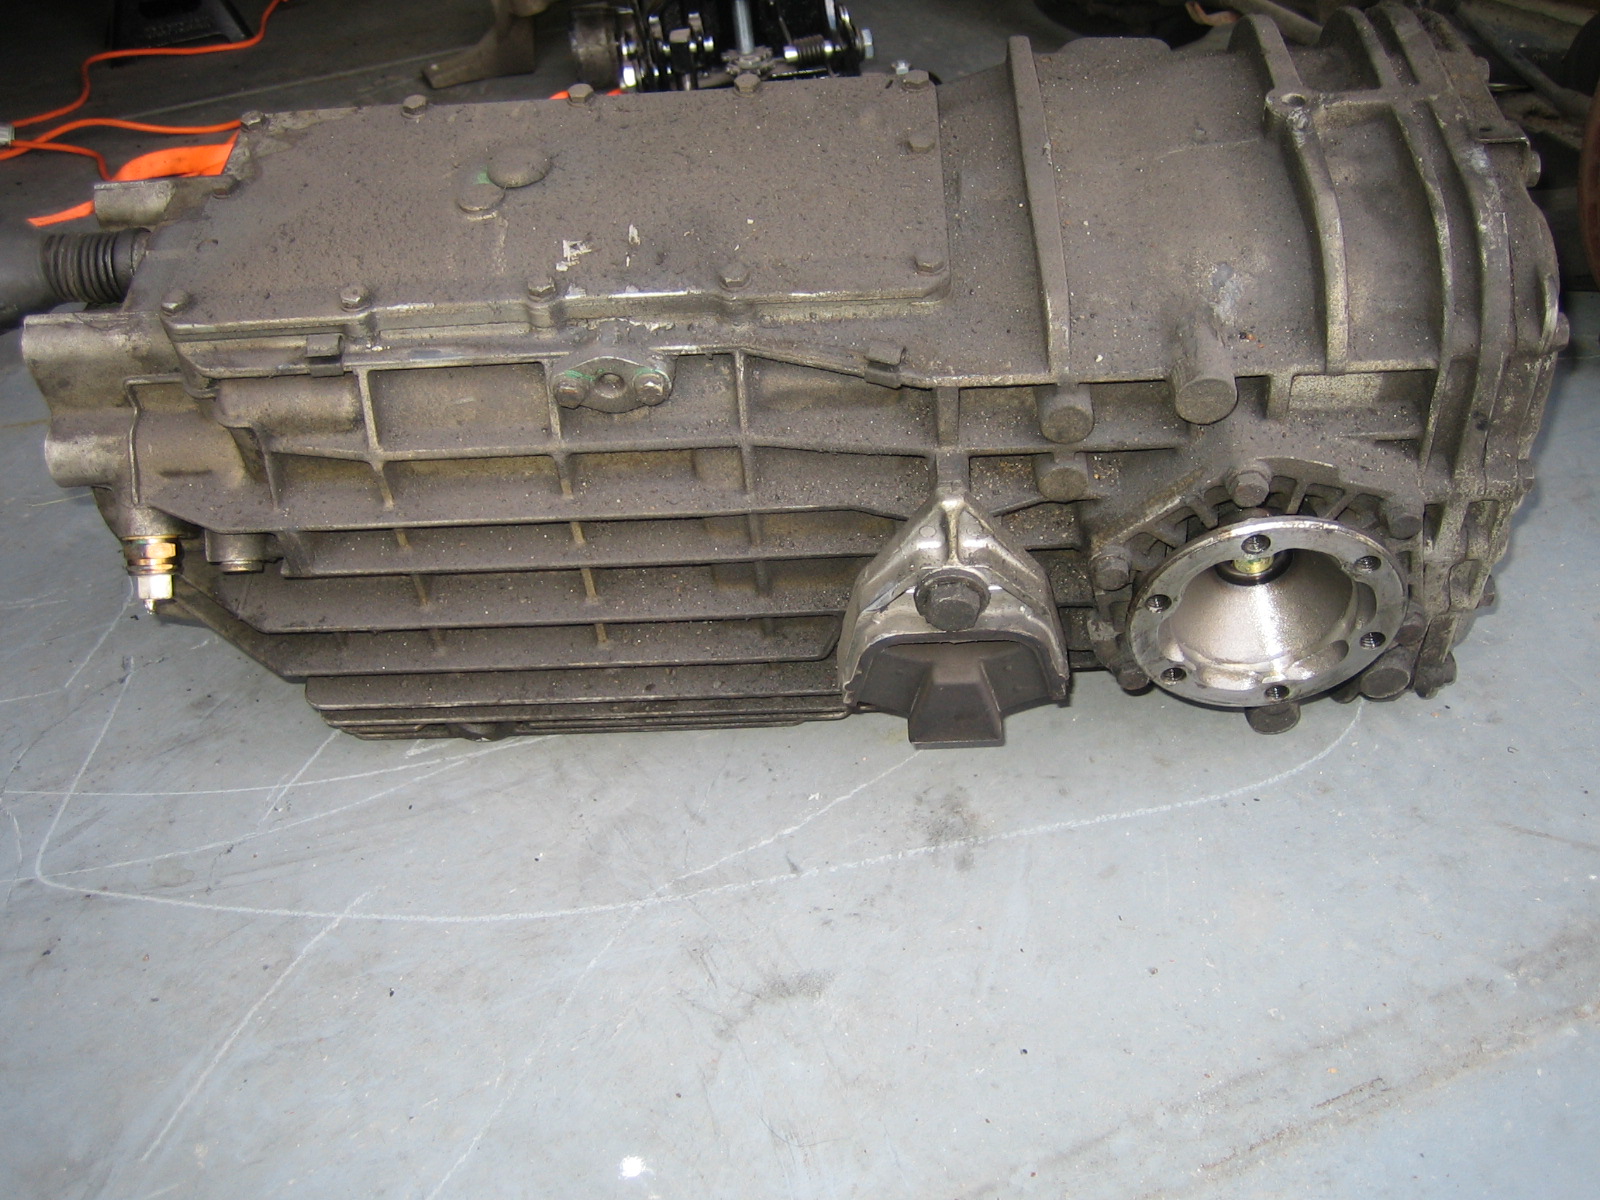
Ever since I bought the car there has been an engine speed related whine, when I replaced the torque converter a few years back I hope that would fix it but alas no. Last year the noise began getting more pronounced to the point I did not want to drive it down to Sharktoberfest, a couple of months back I removed the gearbox but did not get around to taking it to European Autohaus till a couple of weeks back. Anyway it is there now but might be a while till they get around to looking at it as they have a stack of cars backed up in their shop.
Note: Someone has been in the gearbox a while back when for some reason 5th gear synchro was replaced, who knows what we will find once it is opened up.
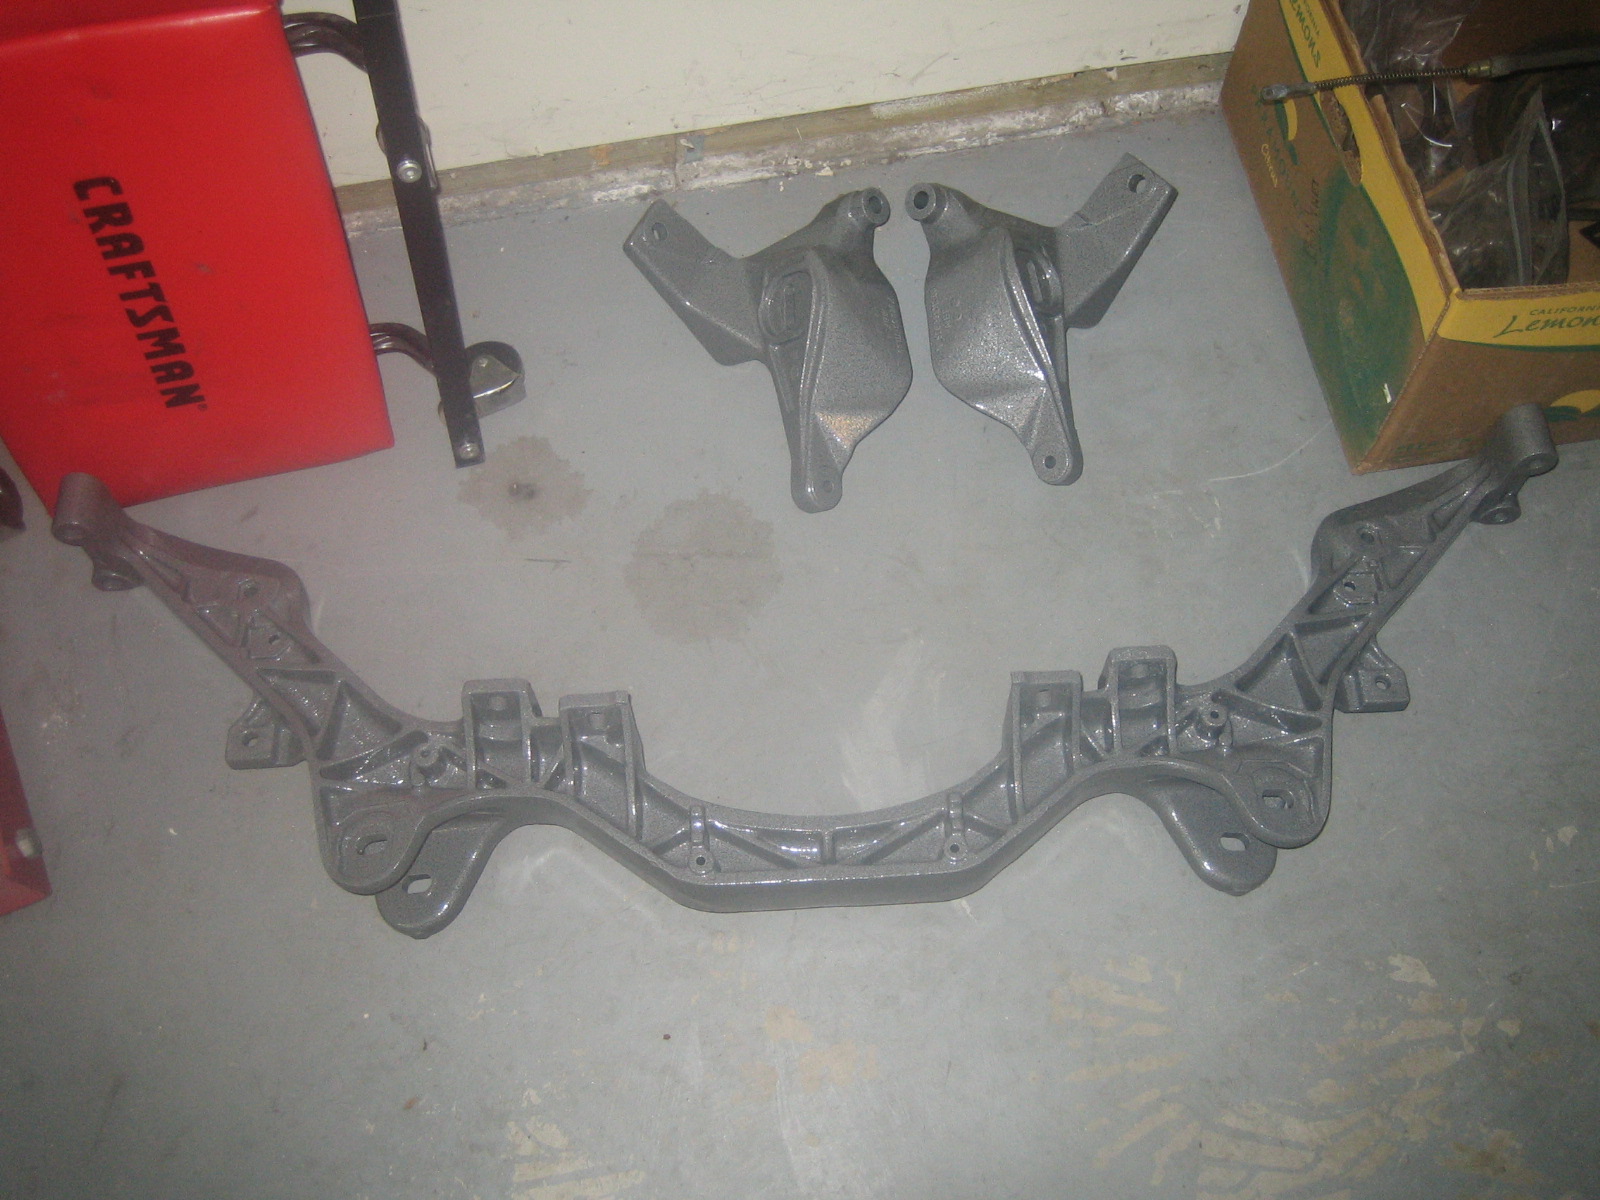
Since the gearbox is going to be a while Tom M started me thinking about cleaning up the rear cross member, well one thing leads to another and the whole thing is in pieces ...
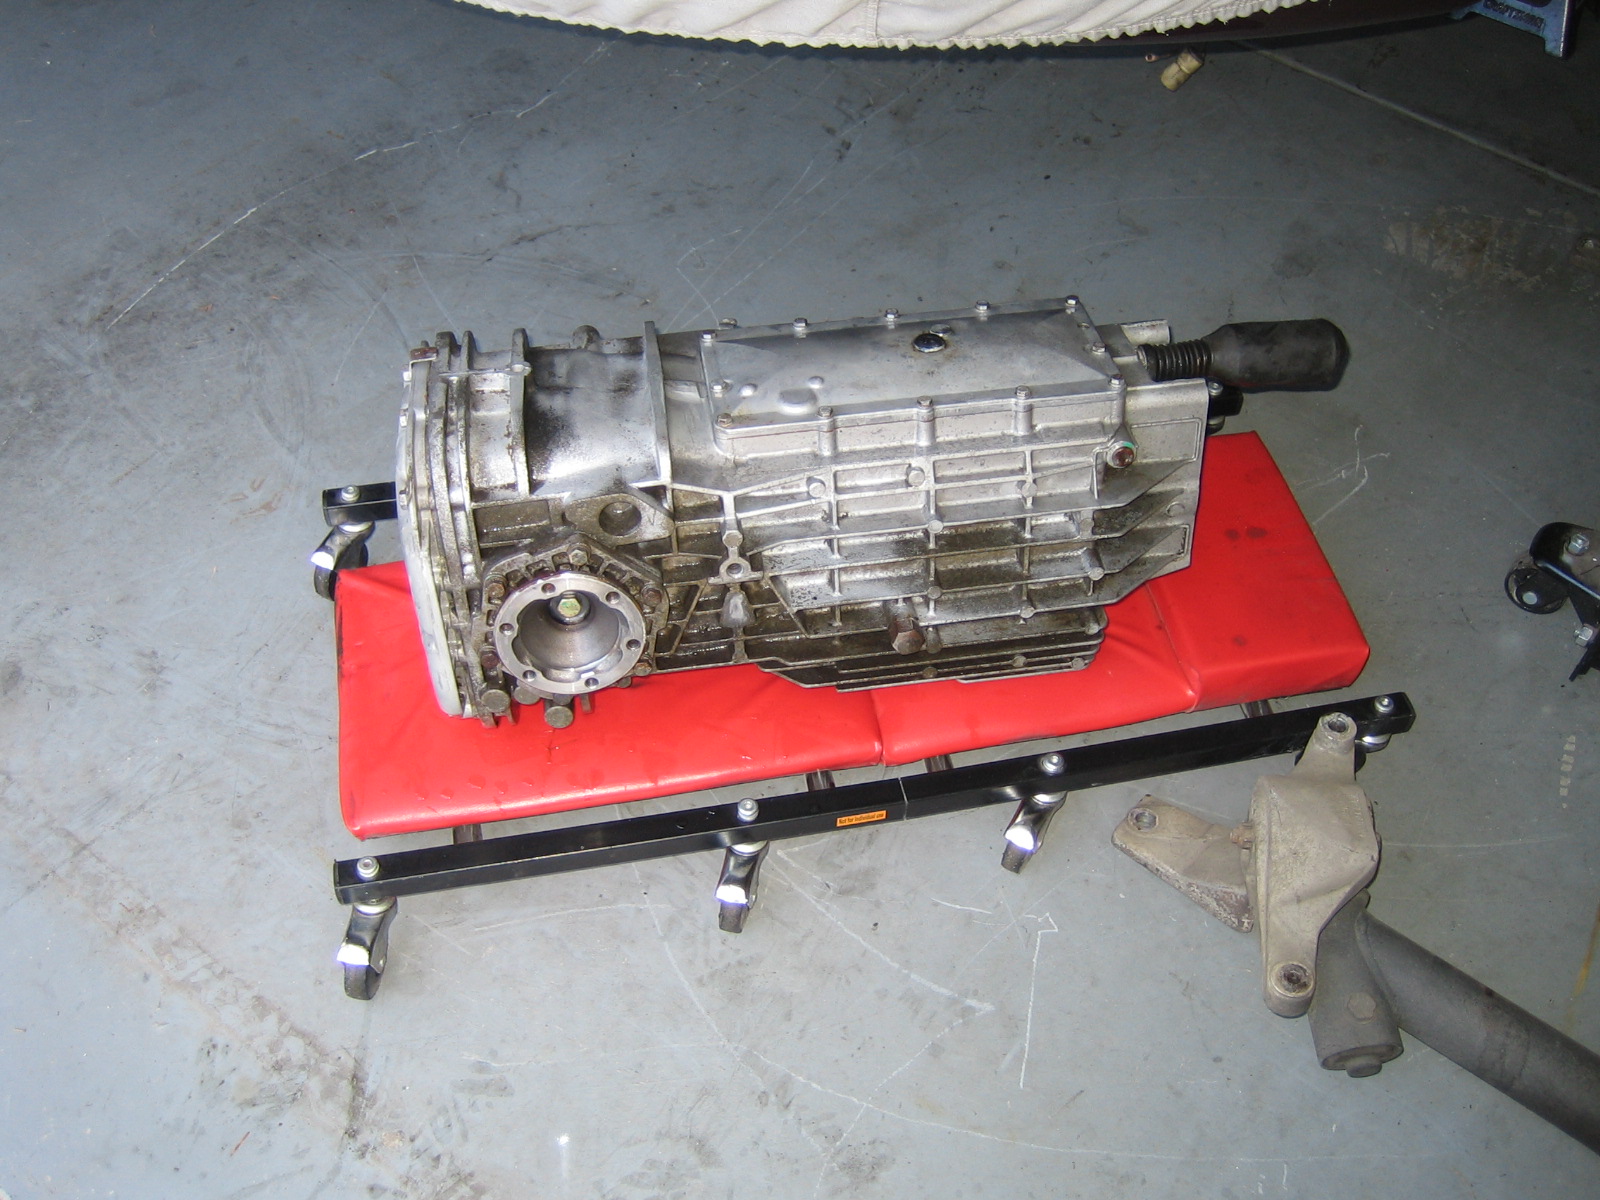
I will save you the details about the procedure for removing the gearbox, really is a 2 person job but I managed it solo with help of some ratchet straps and 2 trolleyyjacks.
Gearbox out, it was pretty dirty so figured might as well give it a clean before I send it to the repair shop.
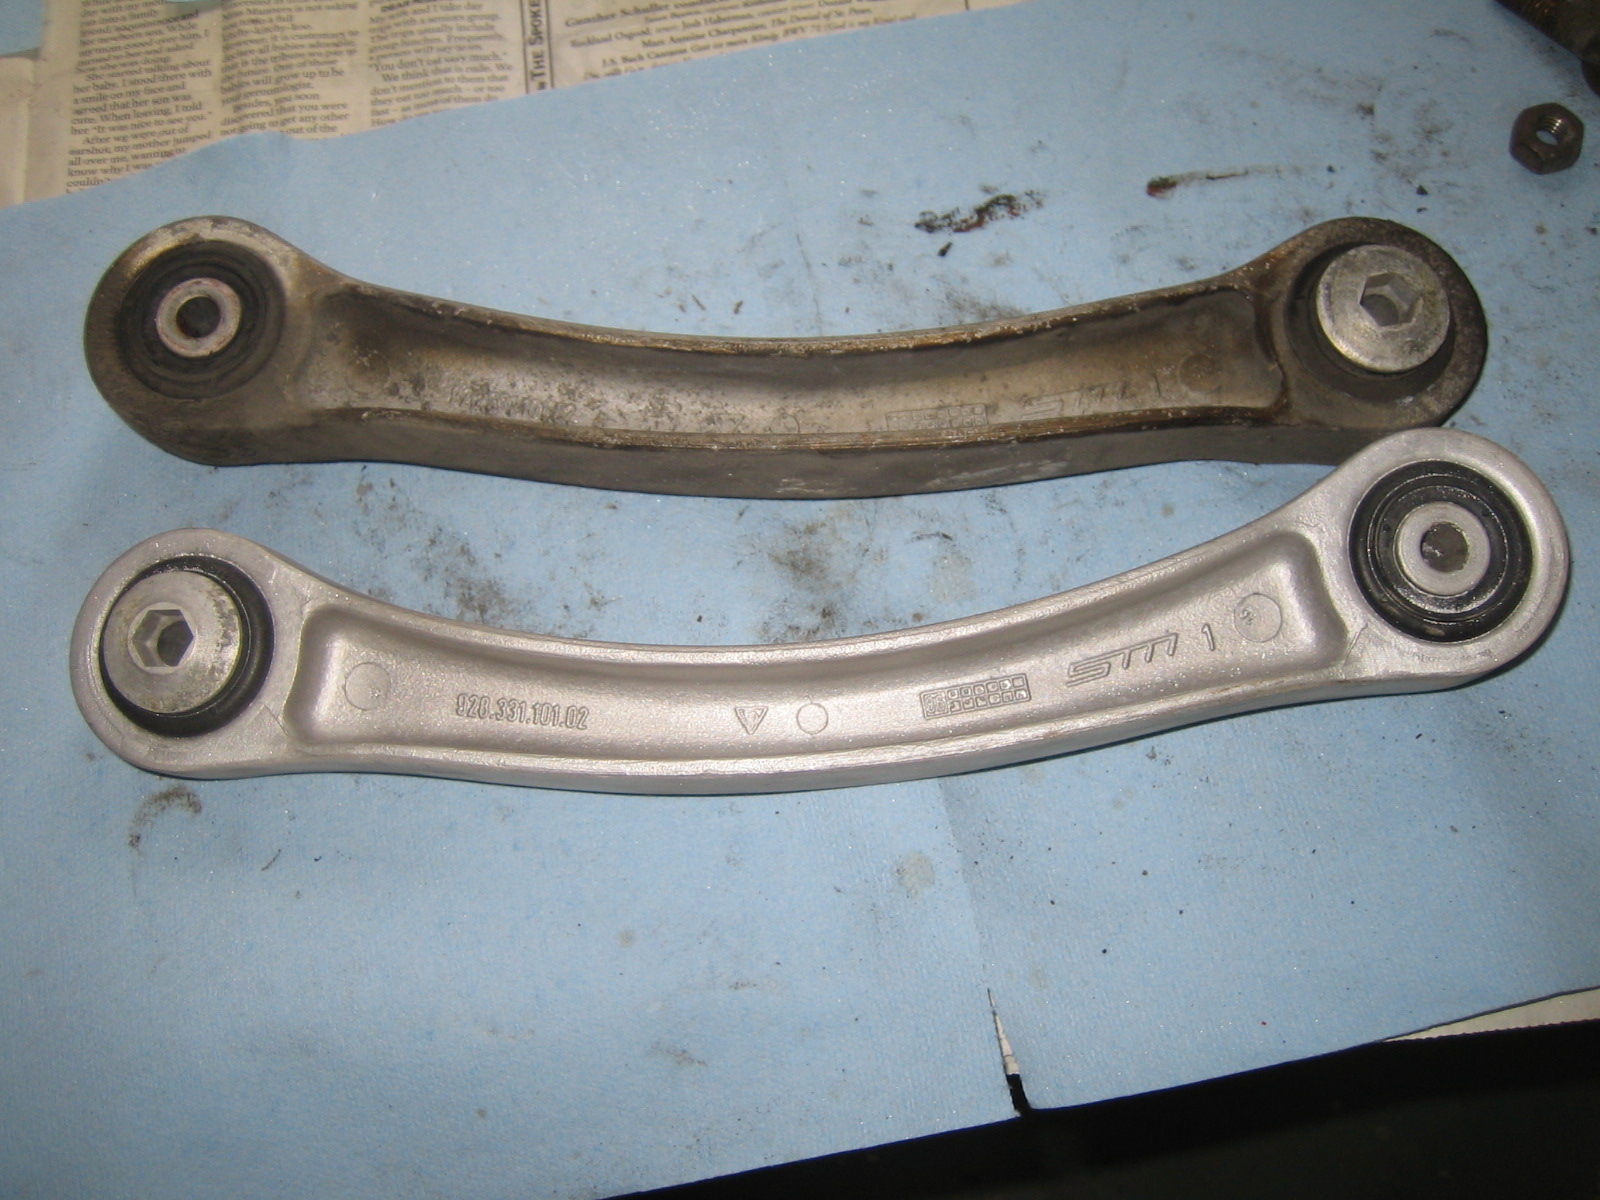
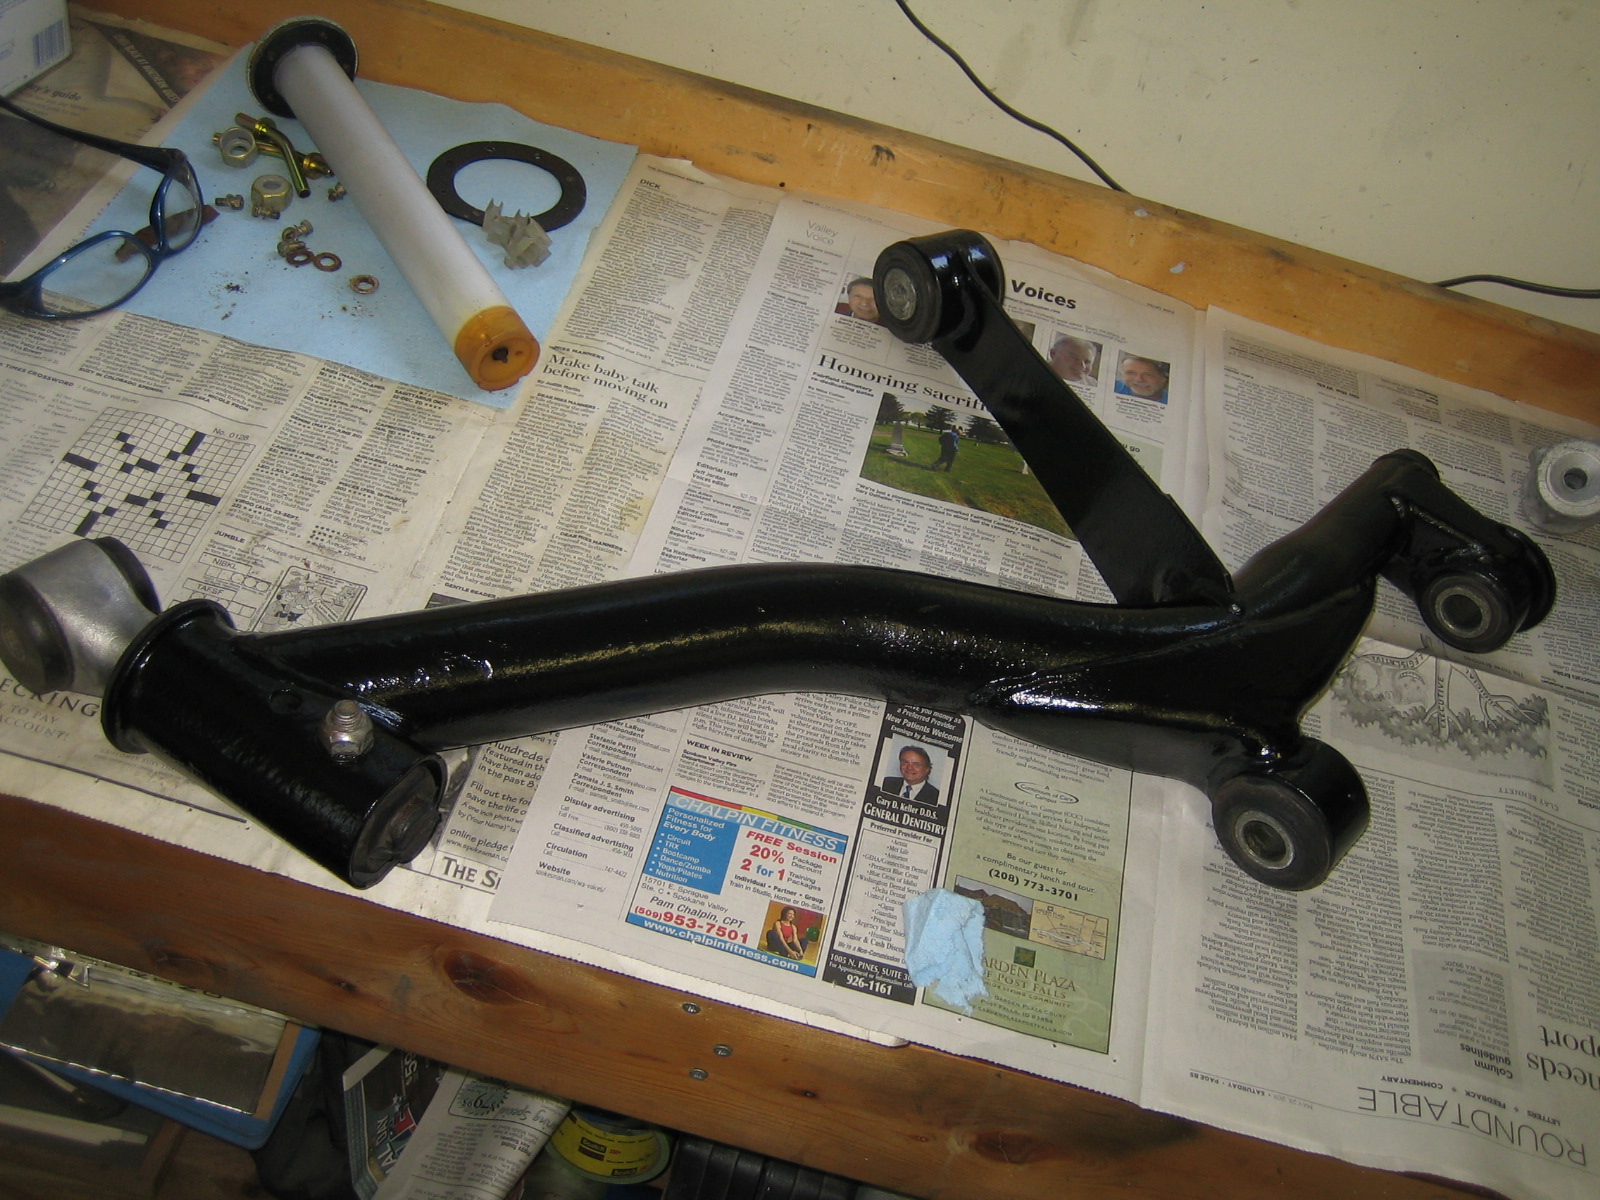
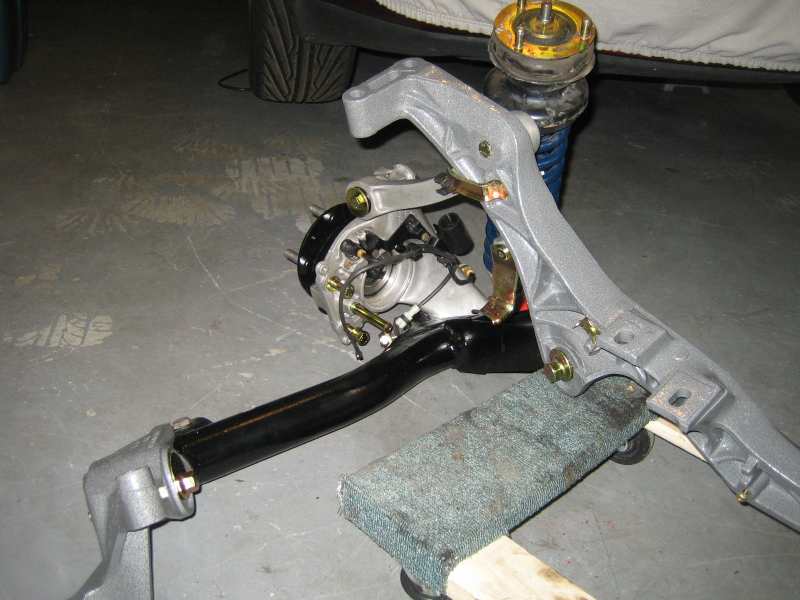
Decided to get some parts powder coated, obviously anything with bushes is not going to go through that process and as the bushes are expensive I just gave them a session in the blast cabinet and put some clear on. Here you can see the upped control arm before and after blasting but prior to clear.
I could have gone with silver powder coat but the gunmetal looked great on my 914 suspension parts so did the same here.
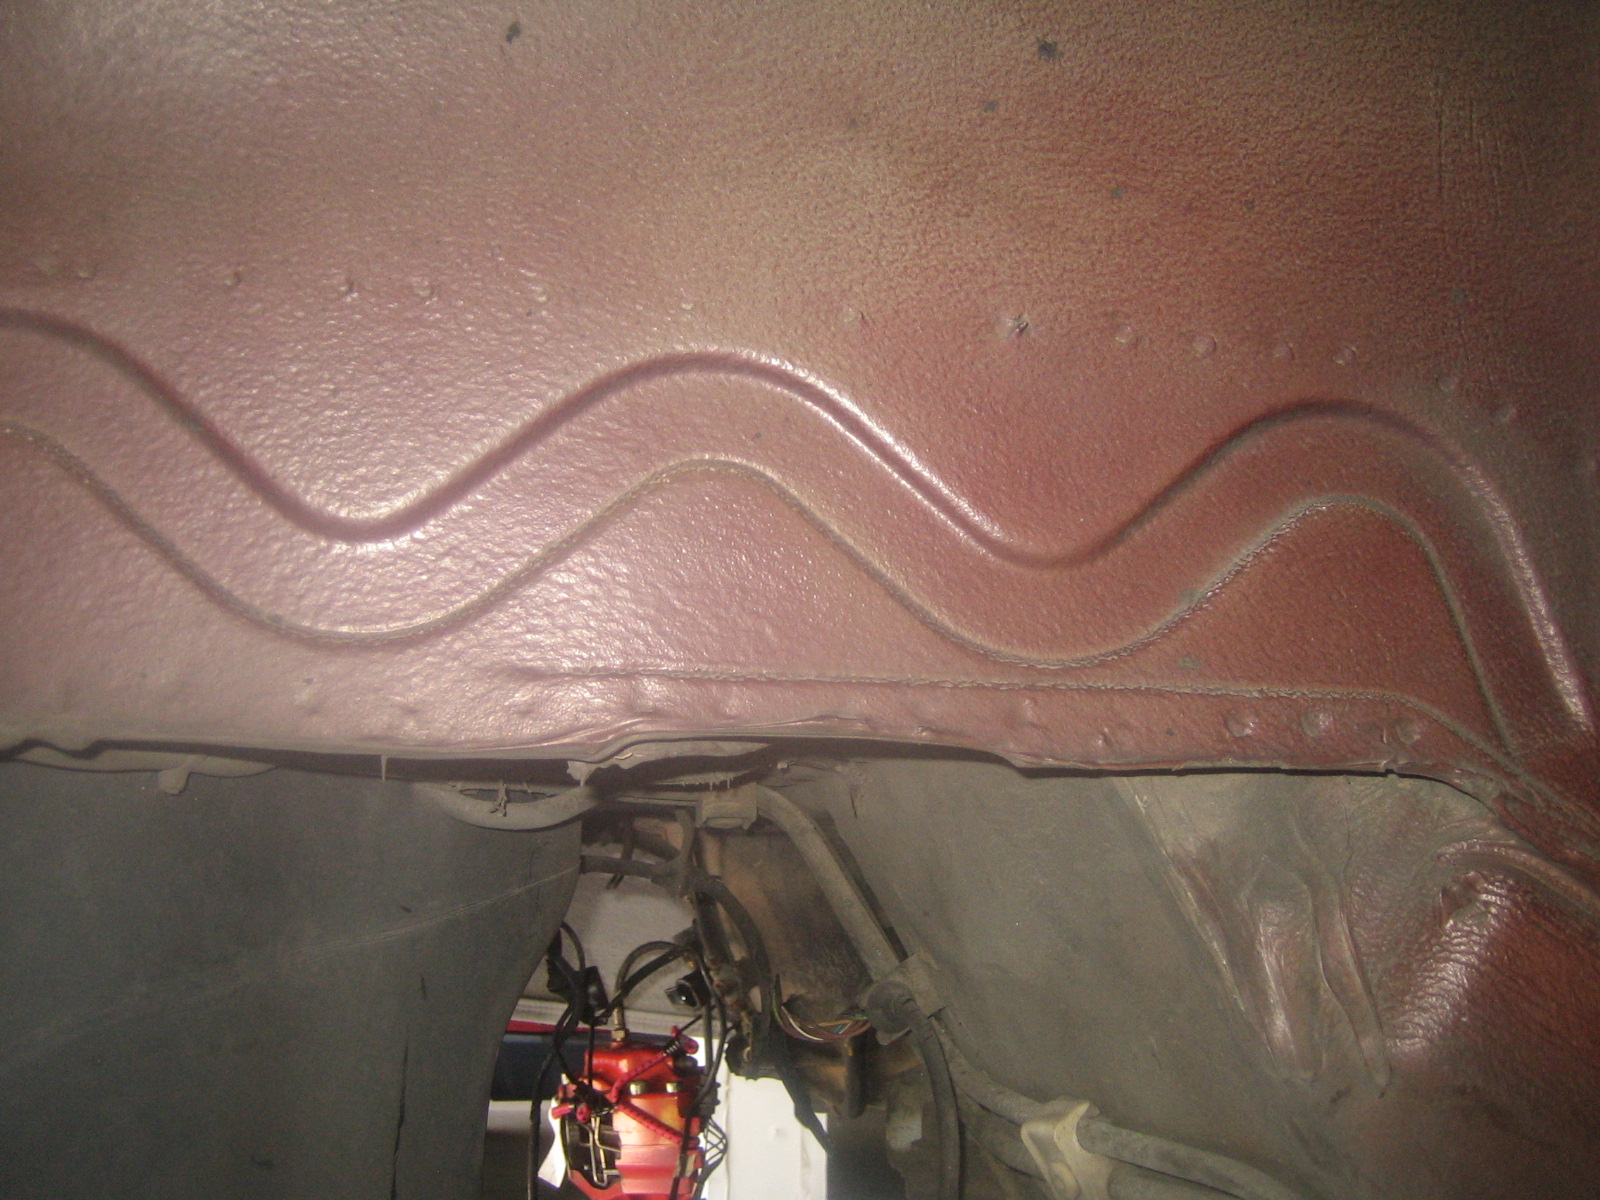
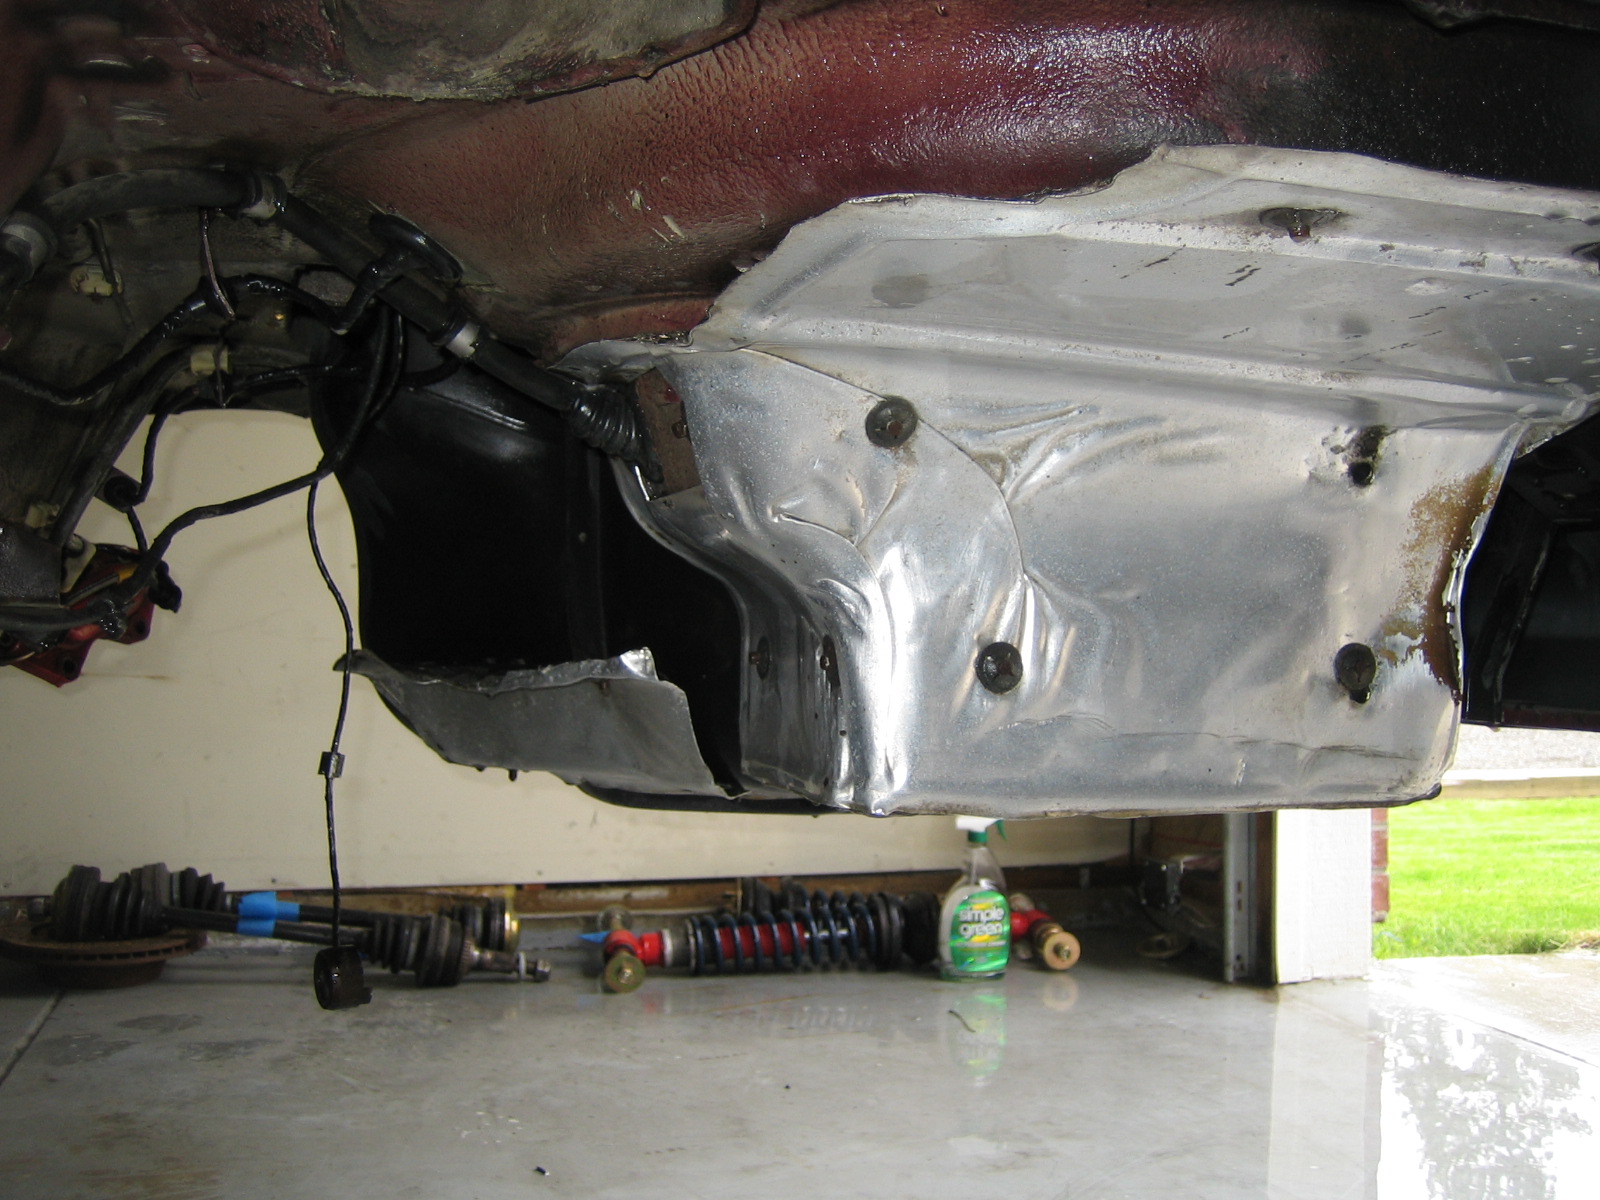
Other people have cleaned their wheel wells and they all look nice and shiney, never had any luck with mine in that respect and found out there is no clear (rag and some cleaning solution leaves color on the rag) so decided to add some.
Drivers side rear, before and after.


Seeing as that came out all right I also did the passenger rear.

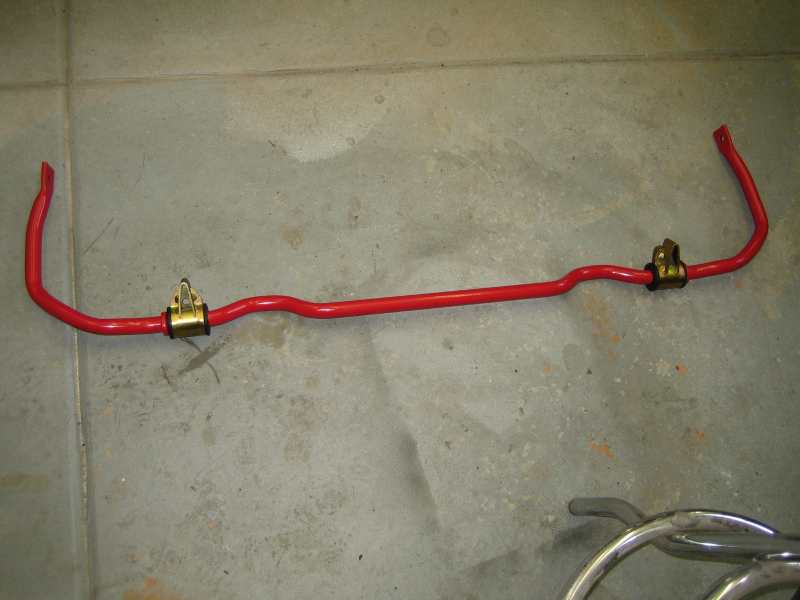
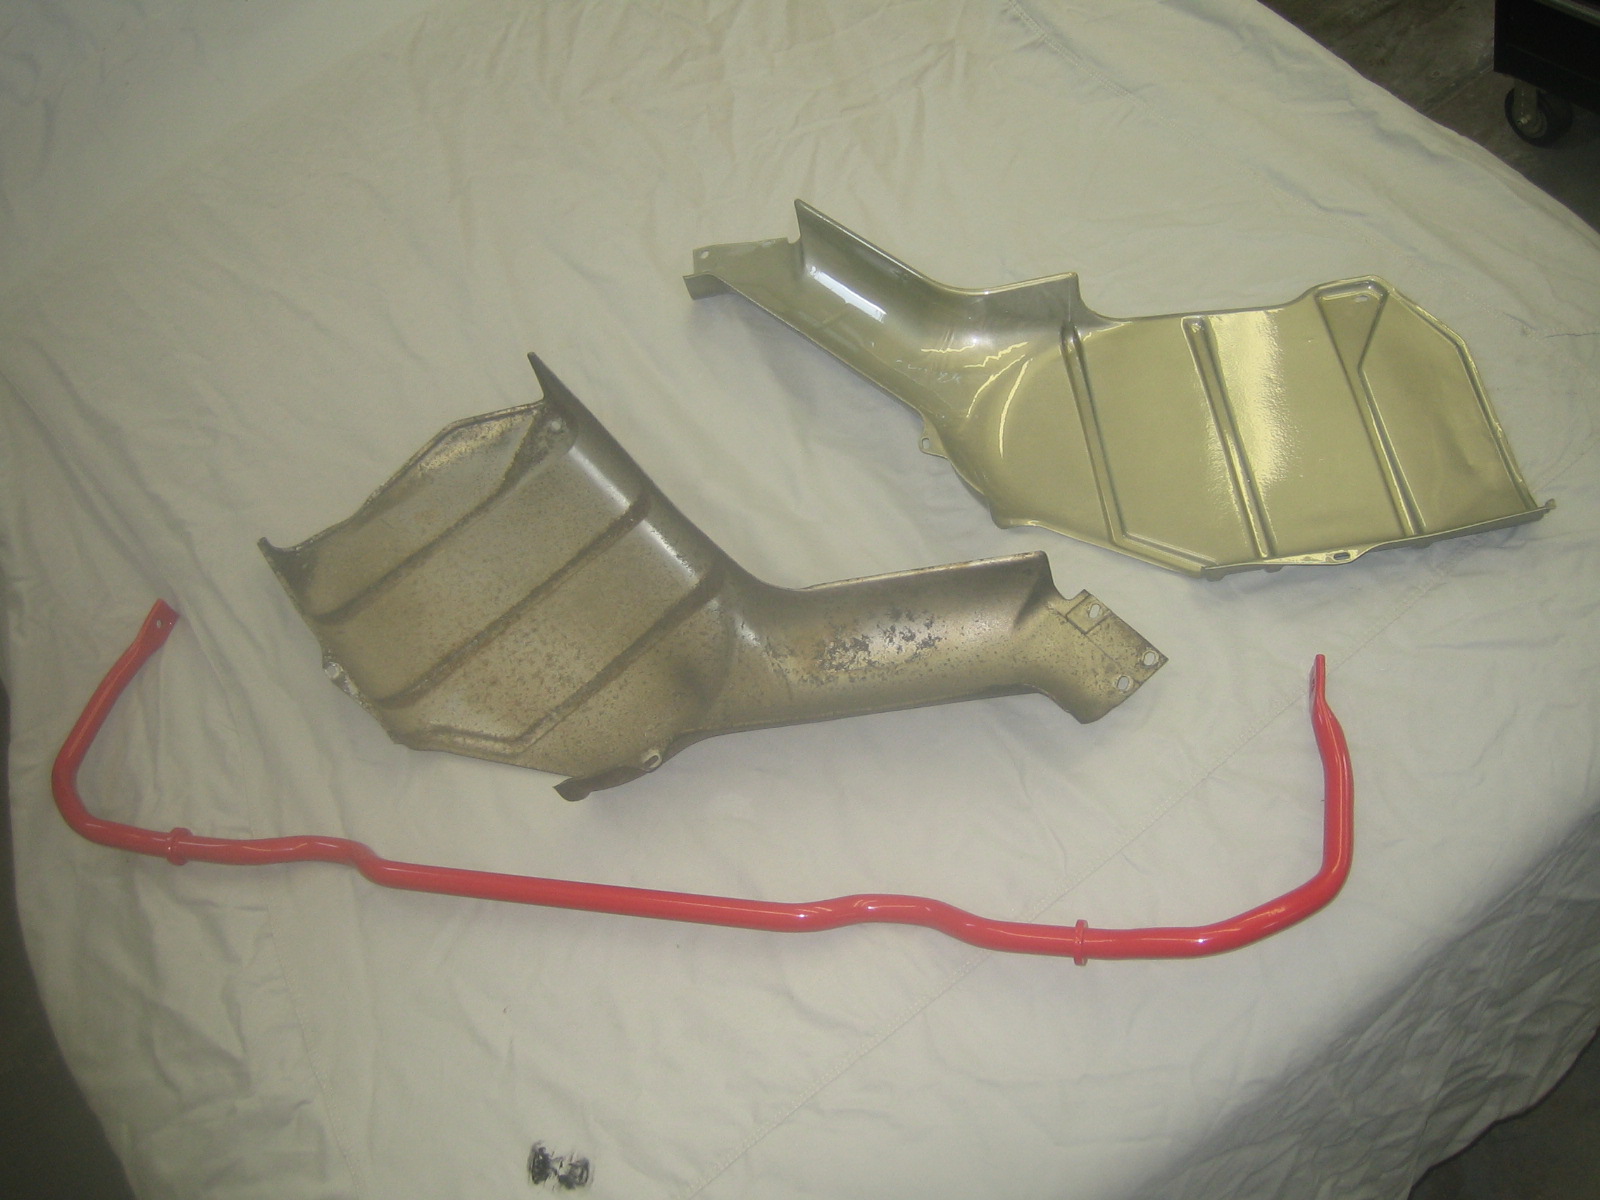
I took all the bolts and brackets I could find, packed them up and took them to the platers and then of course you find you missed a couple ... always the way. I also took the rear sway bar and one of the exhaust heat shield to be powder coated, I was interested in seeing how the heat shield came out.
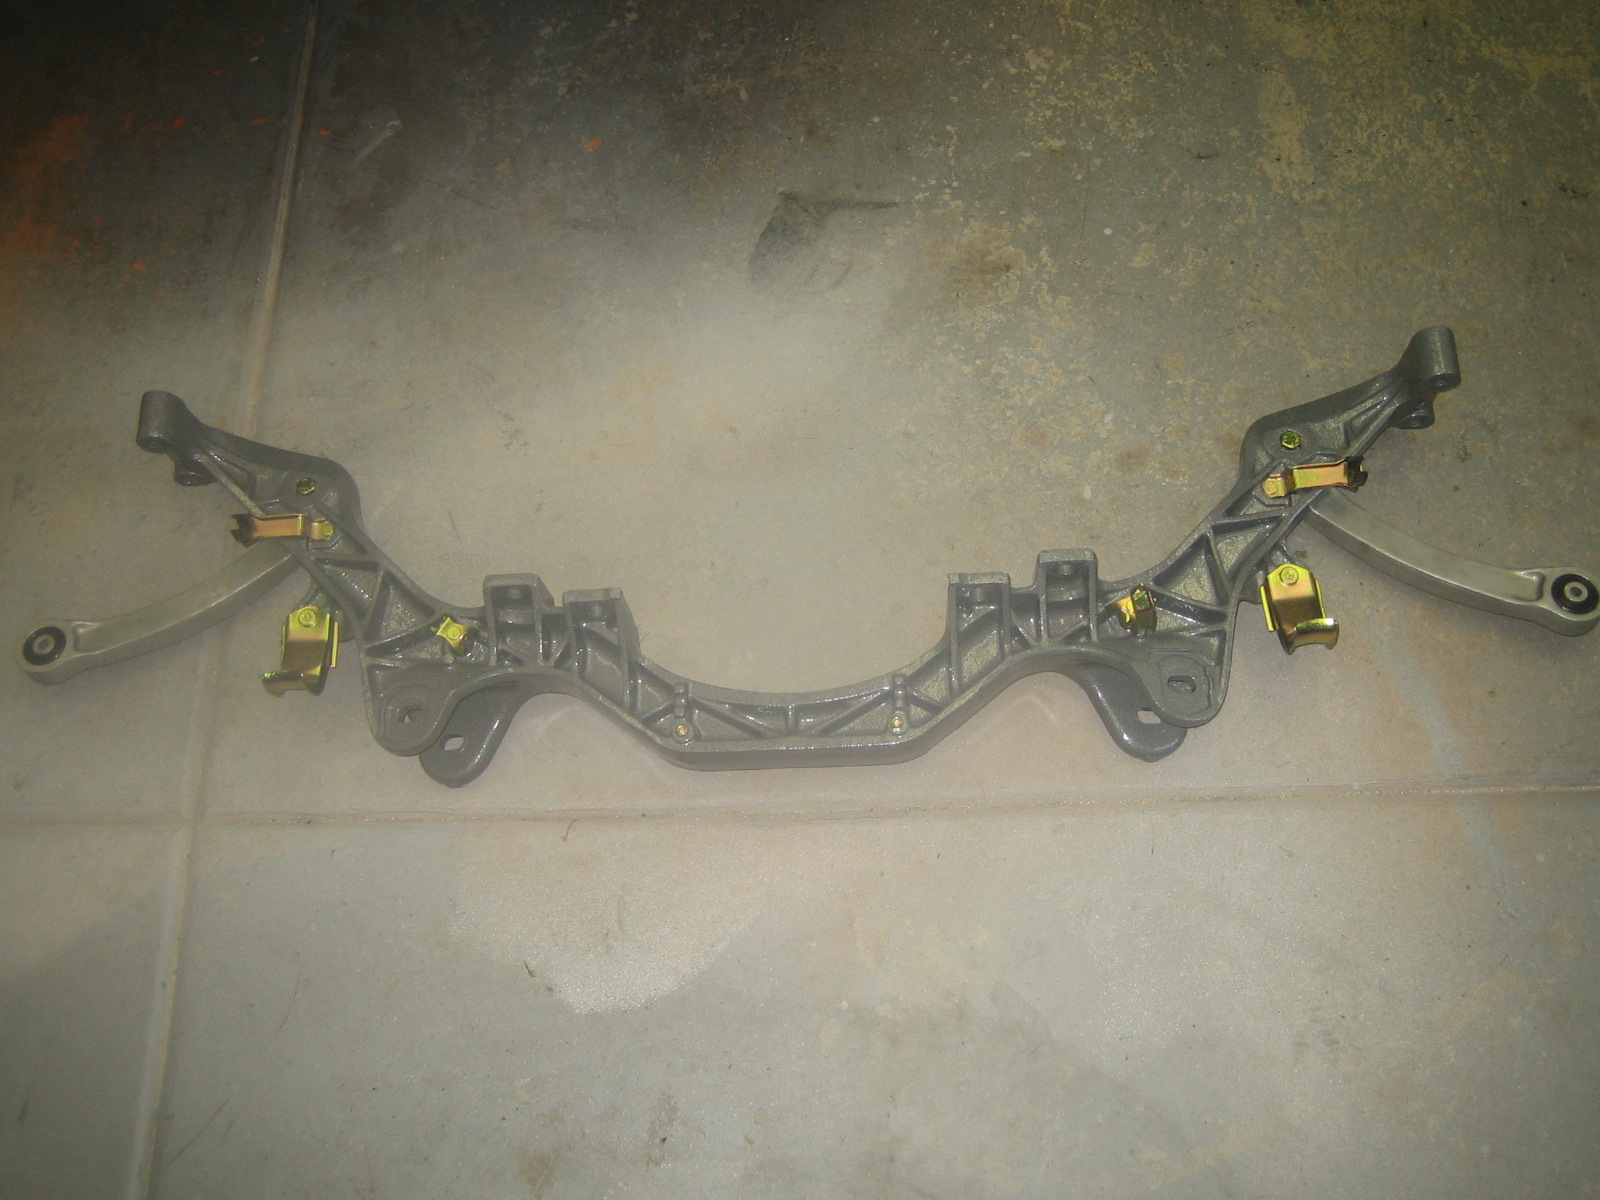
Here you can see the rear cross member with Gold Zinc plated parts fitted, looking better! As for powder coated heat shield ... looks like I need to clean the other one and get it powder coated too.
I had bought a cheap impact wrench before which was next to worthless, went and bought a more expensive one so I could disassemble the rear hub. Well the axle nut came right off with the new wrench !! Perfect.
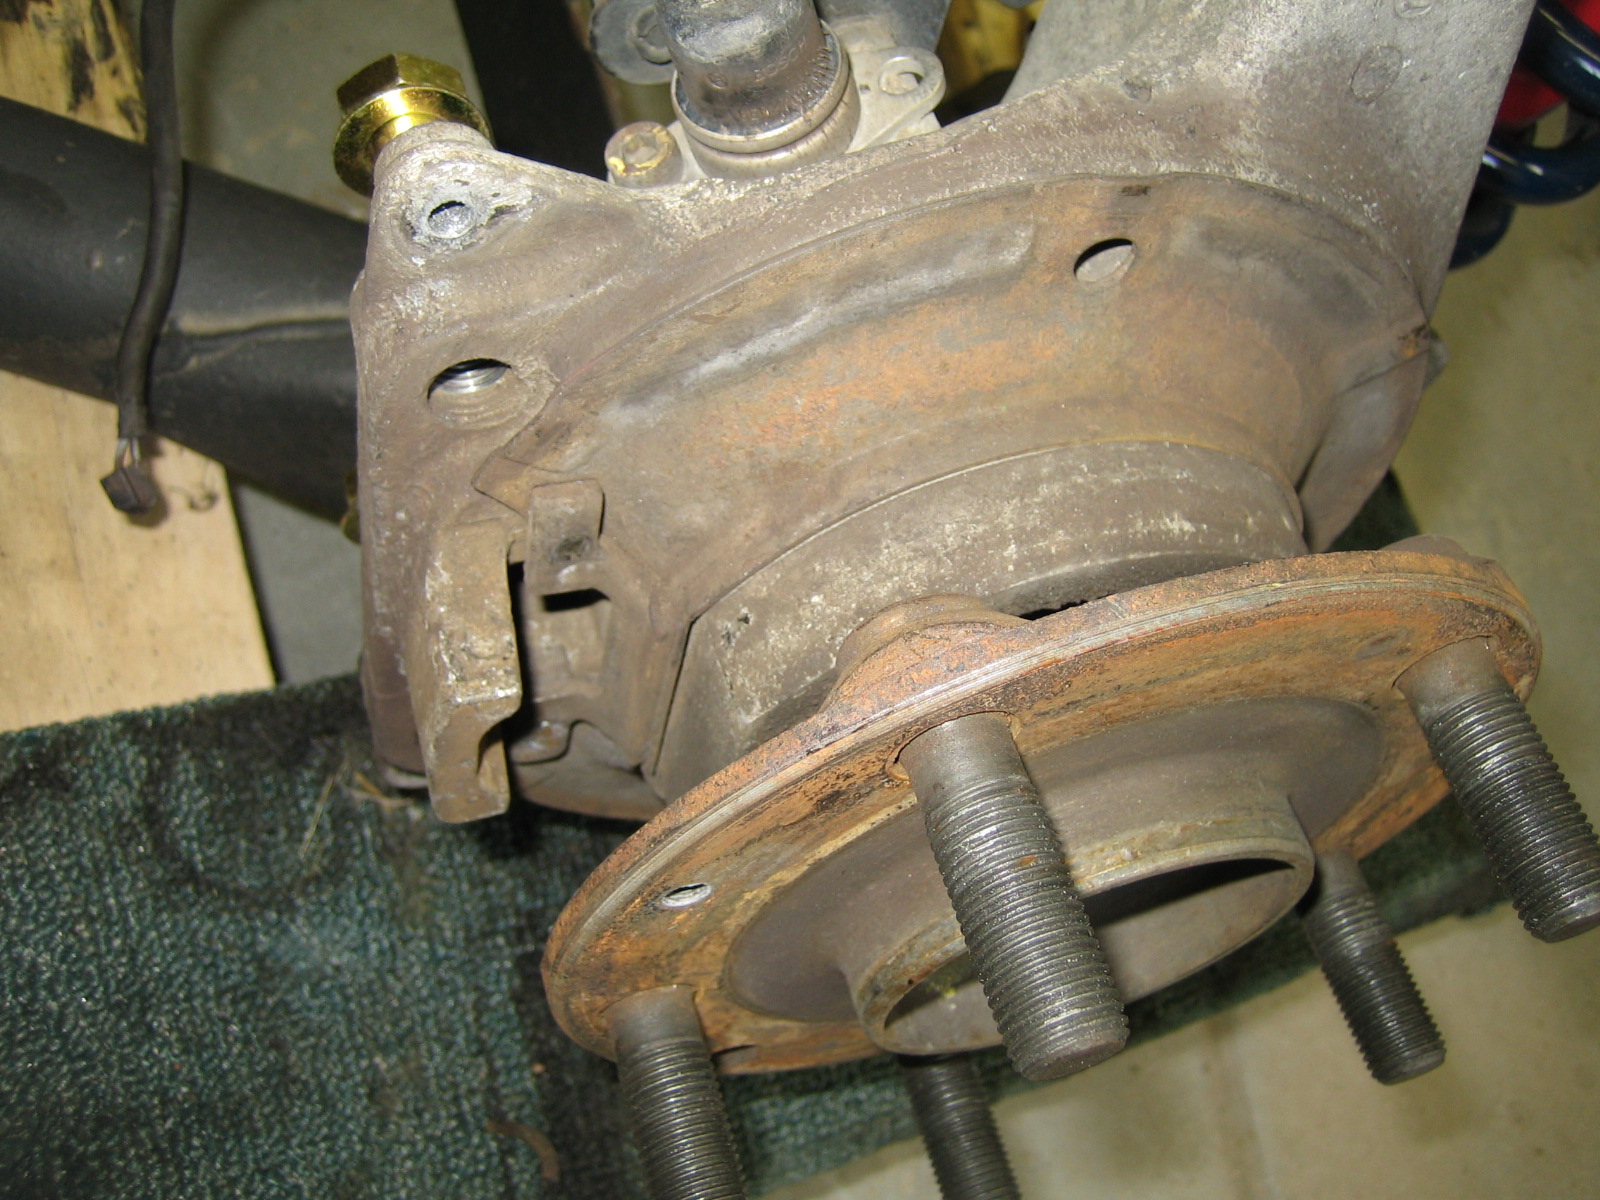
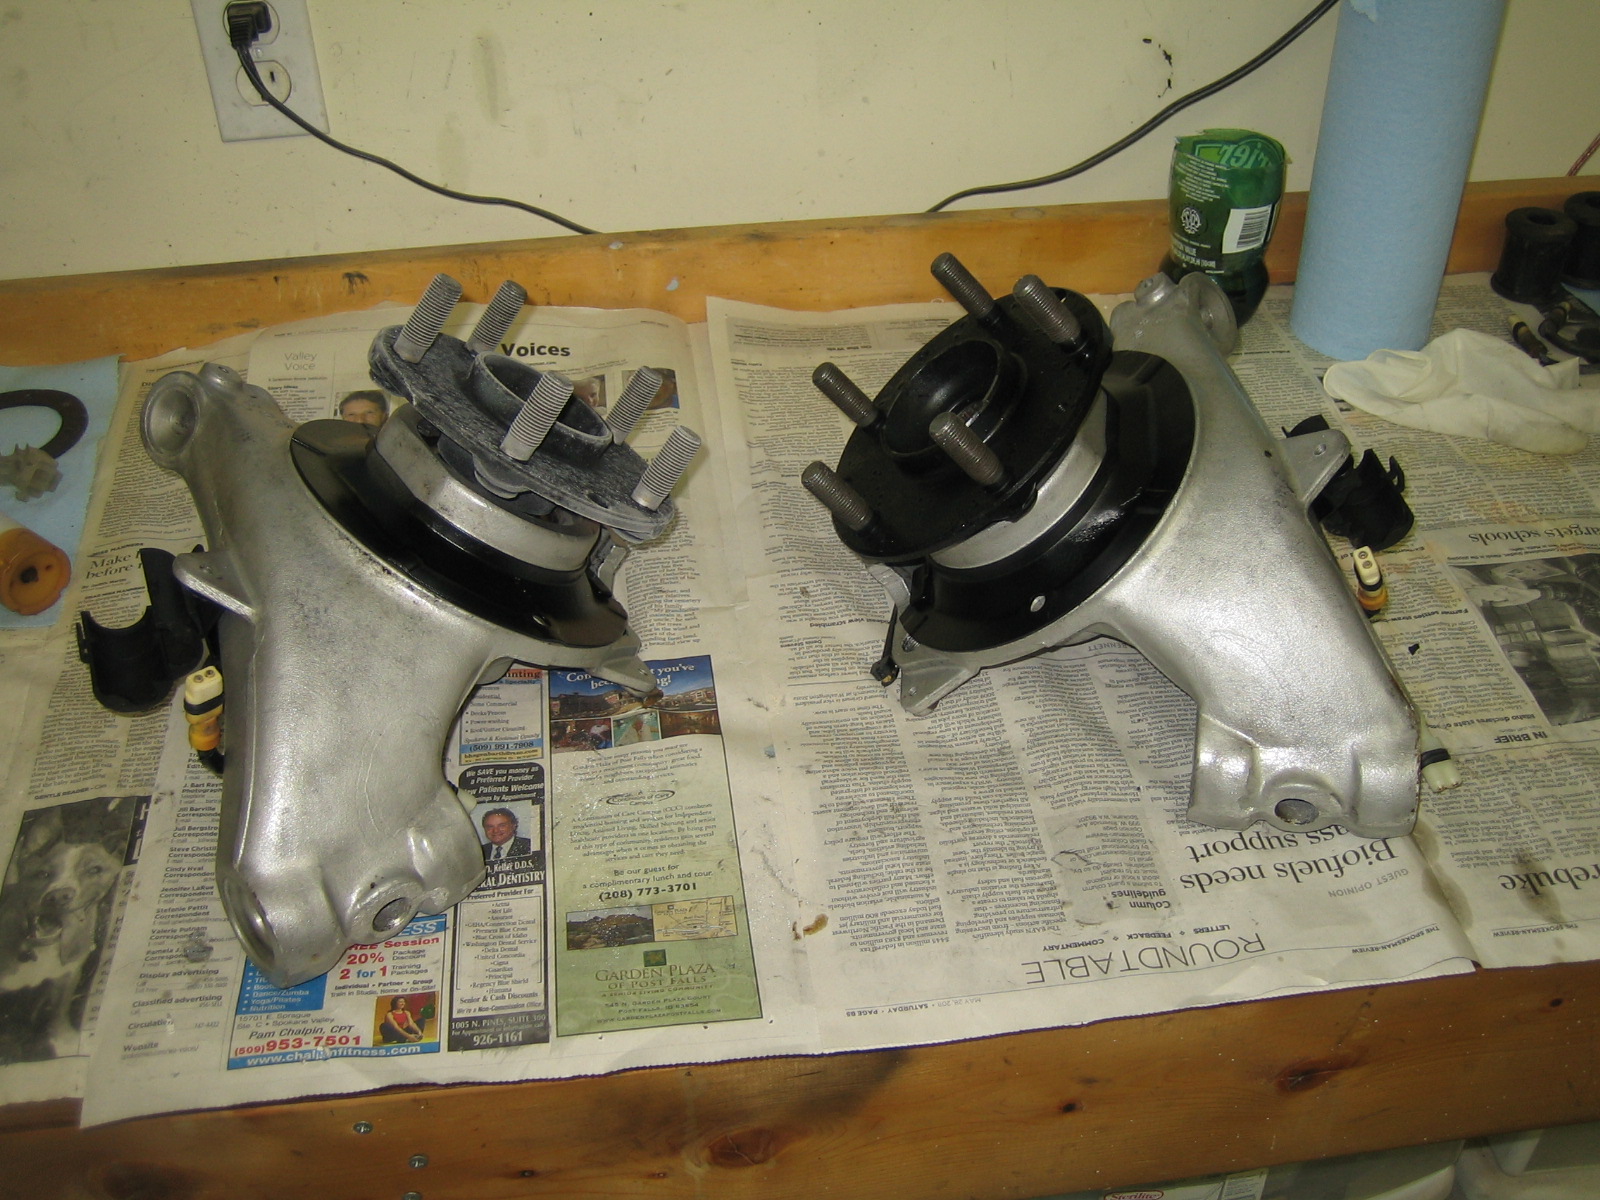
Here you can see the front and of the hub assembly before being dismantled.
I removed the hub by finding an impact socket the right size and using a BFH to remove from the bearing, one side was a real pain and the hub ended up with part of the bearing still stuck to it. I used a 3" cut off with the intent of cutting it off but the heat generated in the process meant it nearly fell off. I pressed the bearings out with a hydraulic press, nice when you have the right tools!
This is the hub and handbrake support bracket blasted and ready for paint, followed by some etching primer.

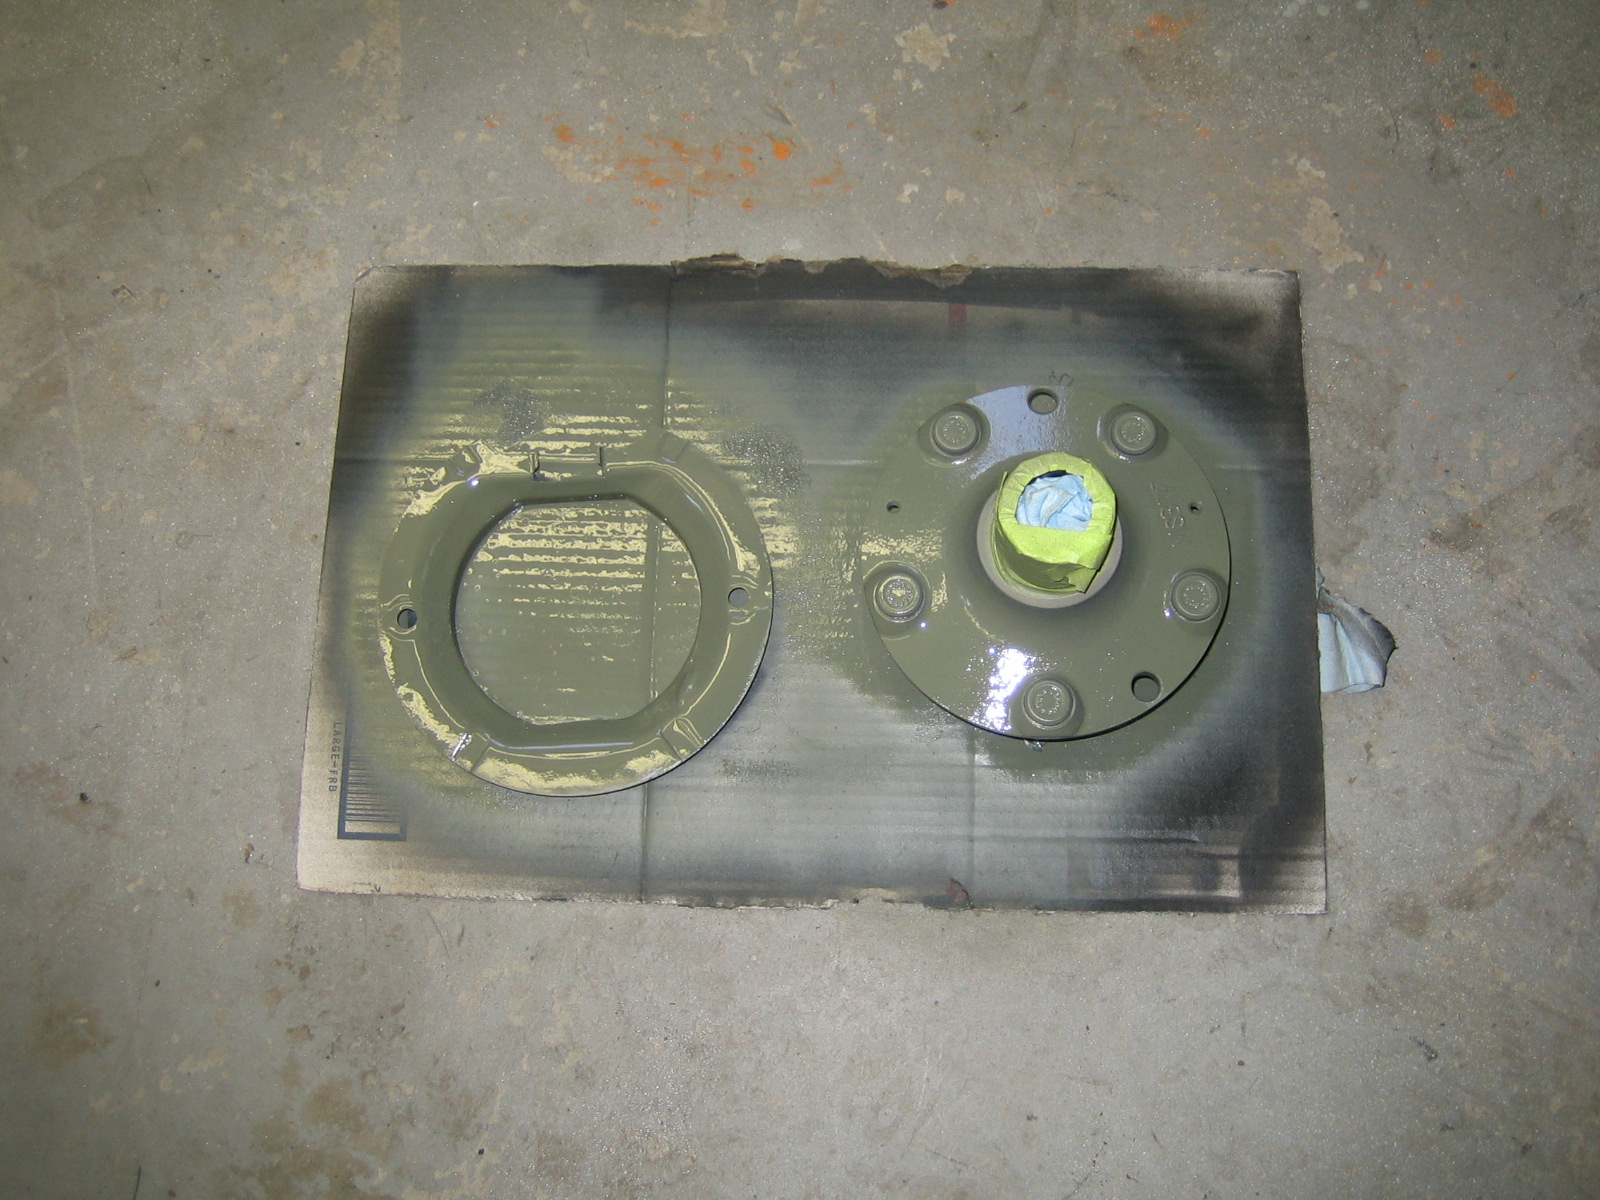
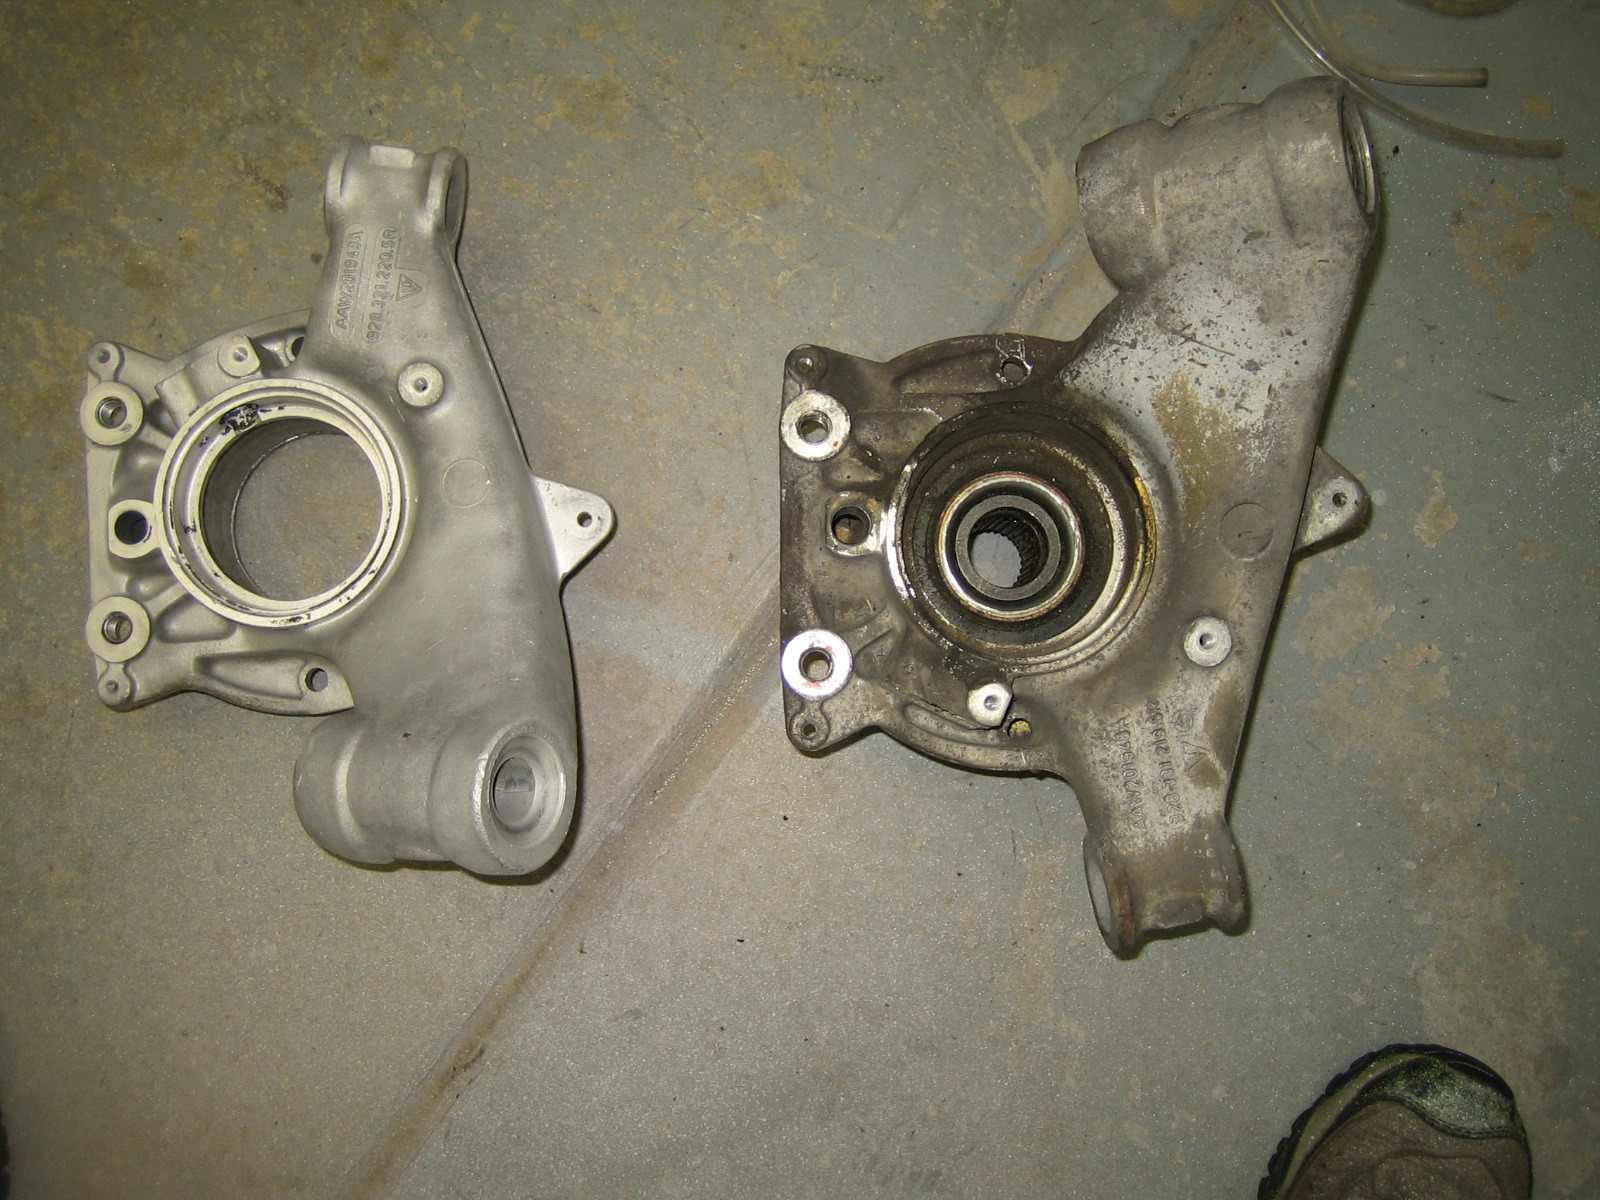
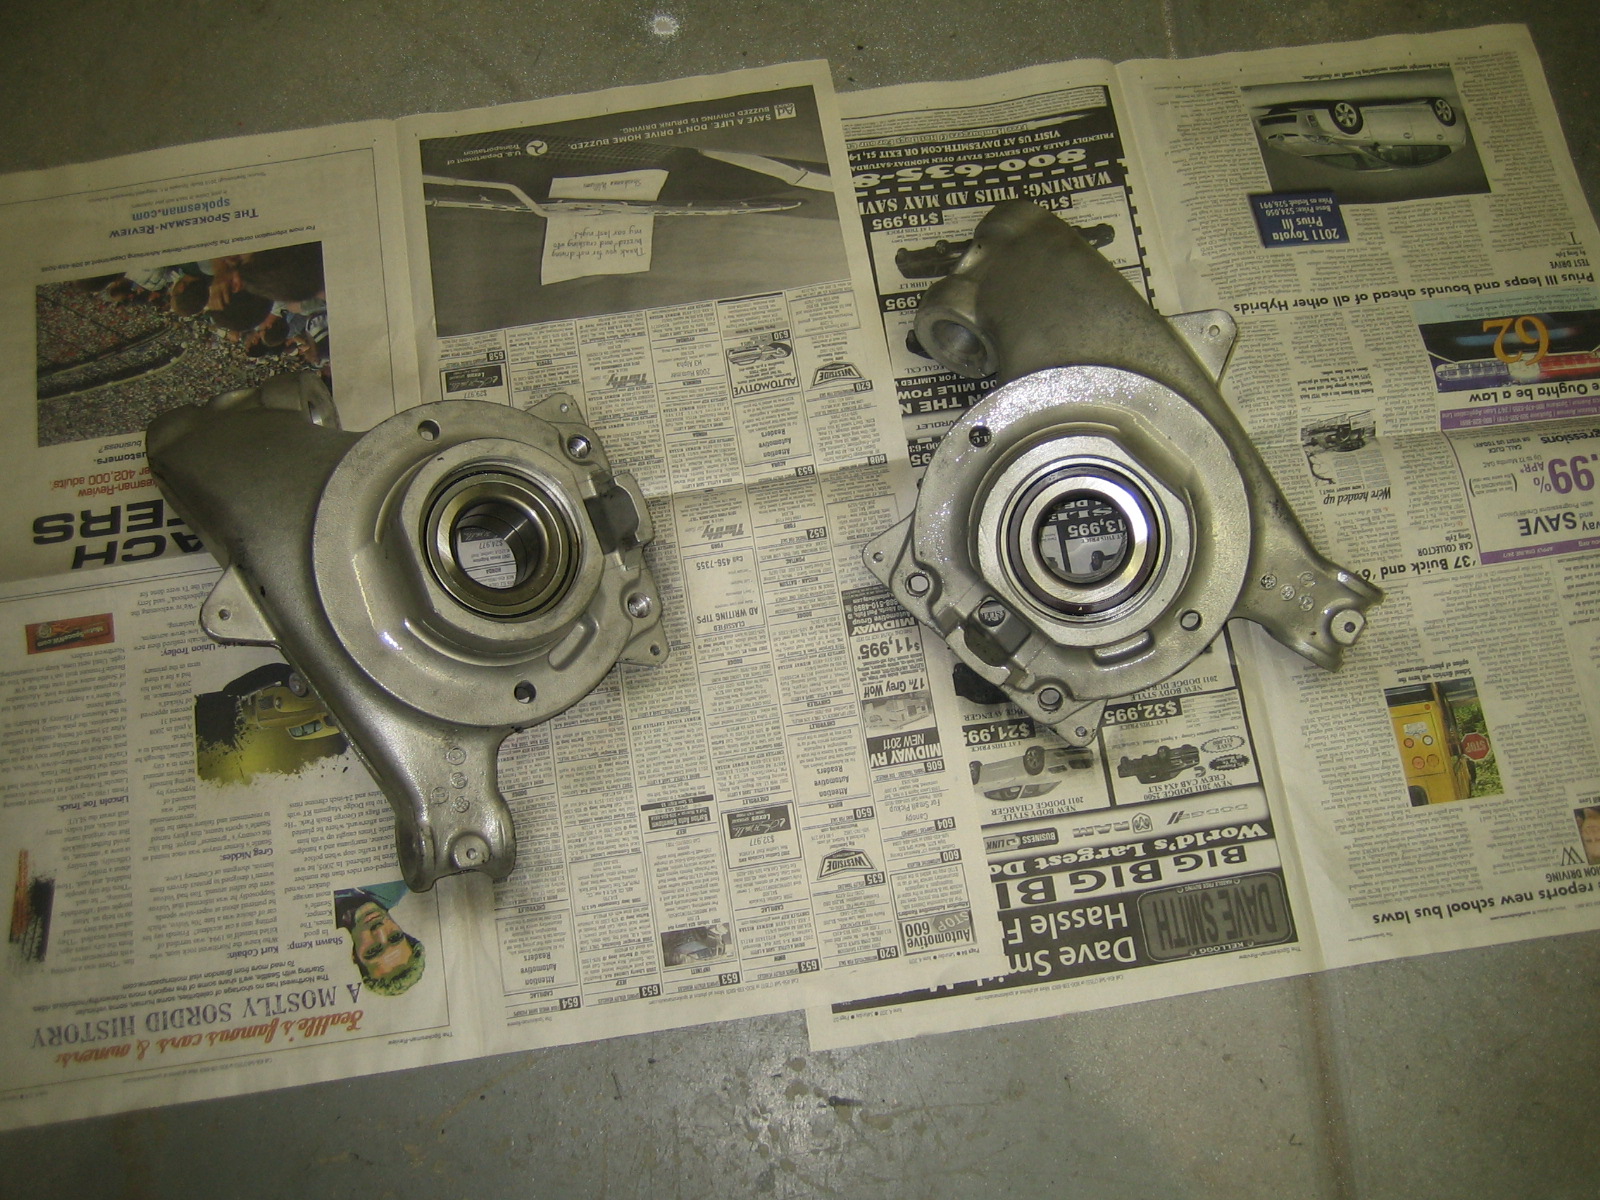
After blasting the rear bearing support casting came out great, see before and after. I will clear coat this but will wait till the new bearings are in as it will be going in the oven to be heated to make install easier.
Removing the cosmoline from some of the parts was a real pain and the steel bushing carrier had it loads of it, after cleaning that off and general prep I sprayed it black and then some clear.
Spent some time cleaning up the underside, to remove the cosmoline the 'Simple Green' needed some soak time and then a quick rub and rinse removed the rest. There was some thick grease where the CV's had been leaking before I repaired the boots, that left a mess!
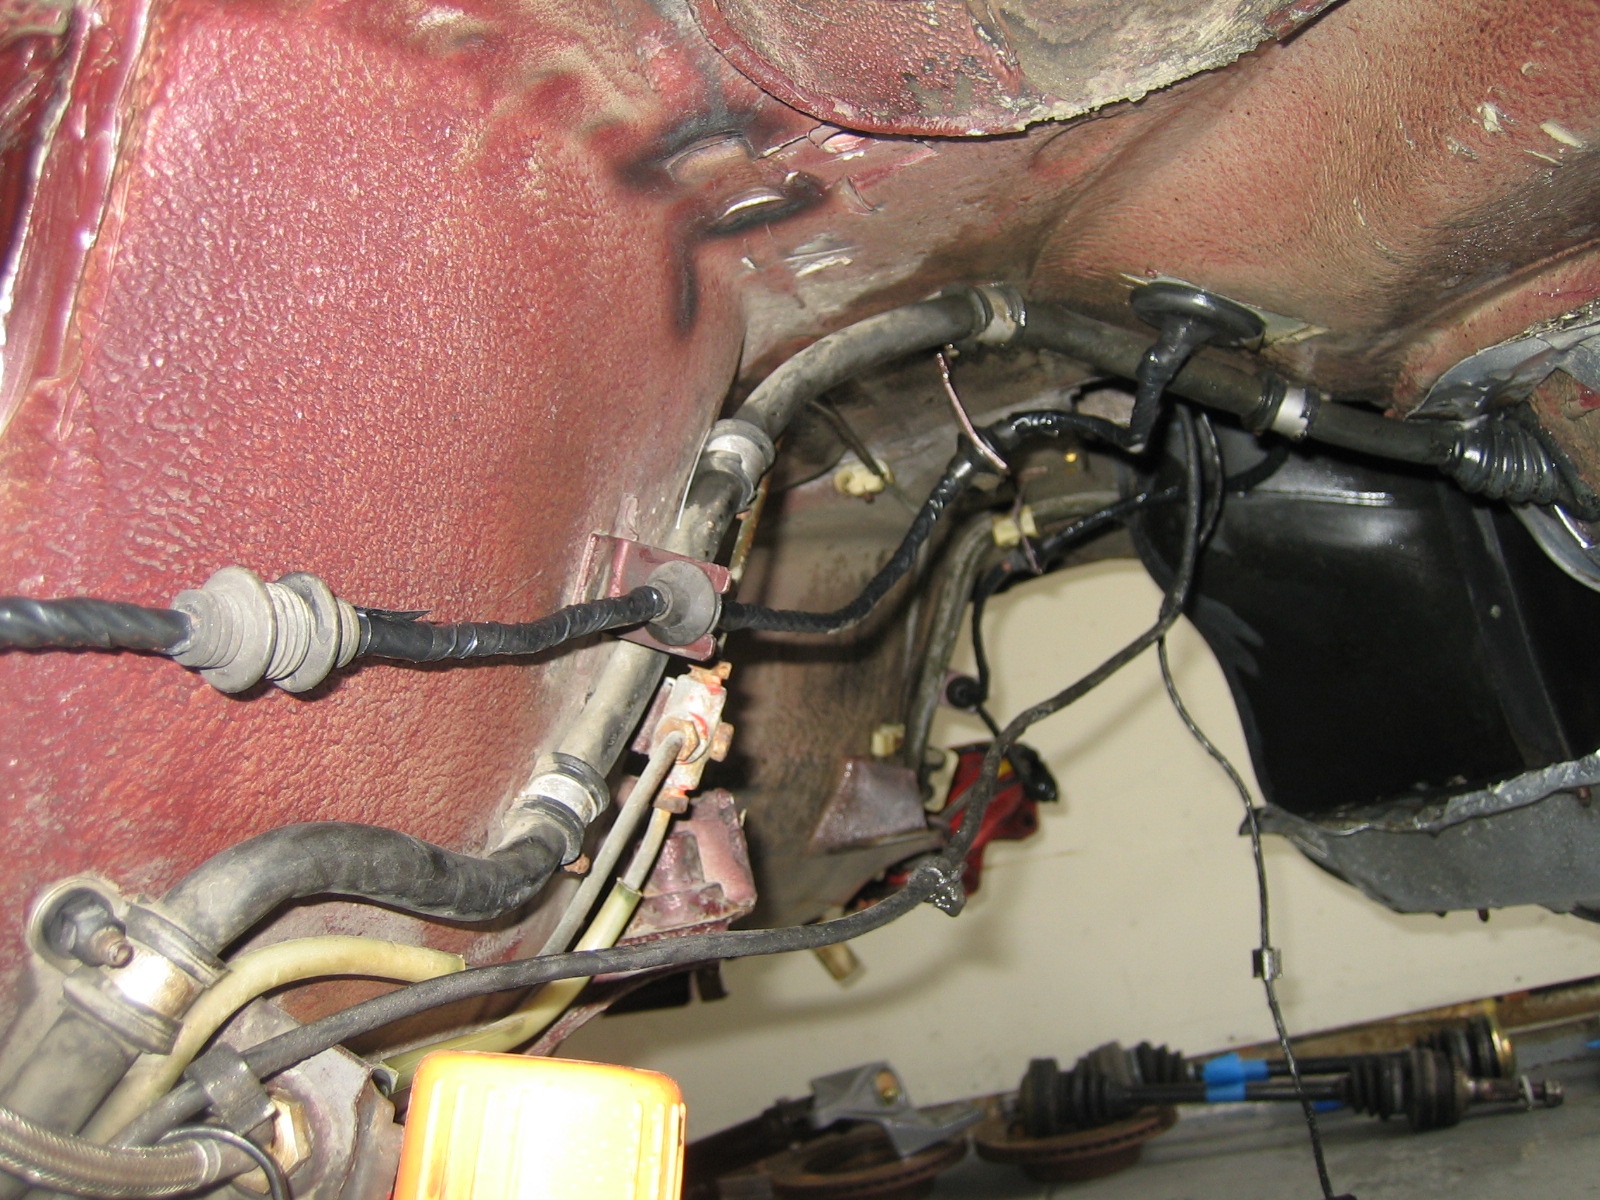
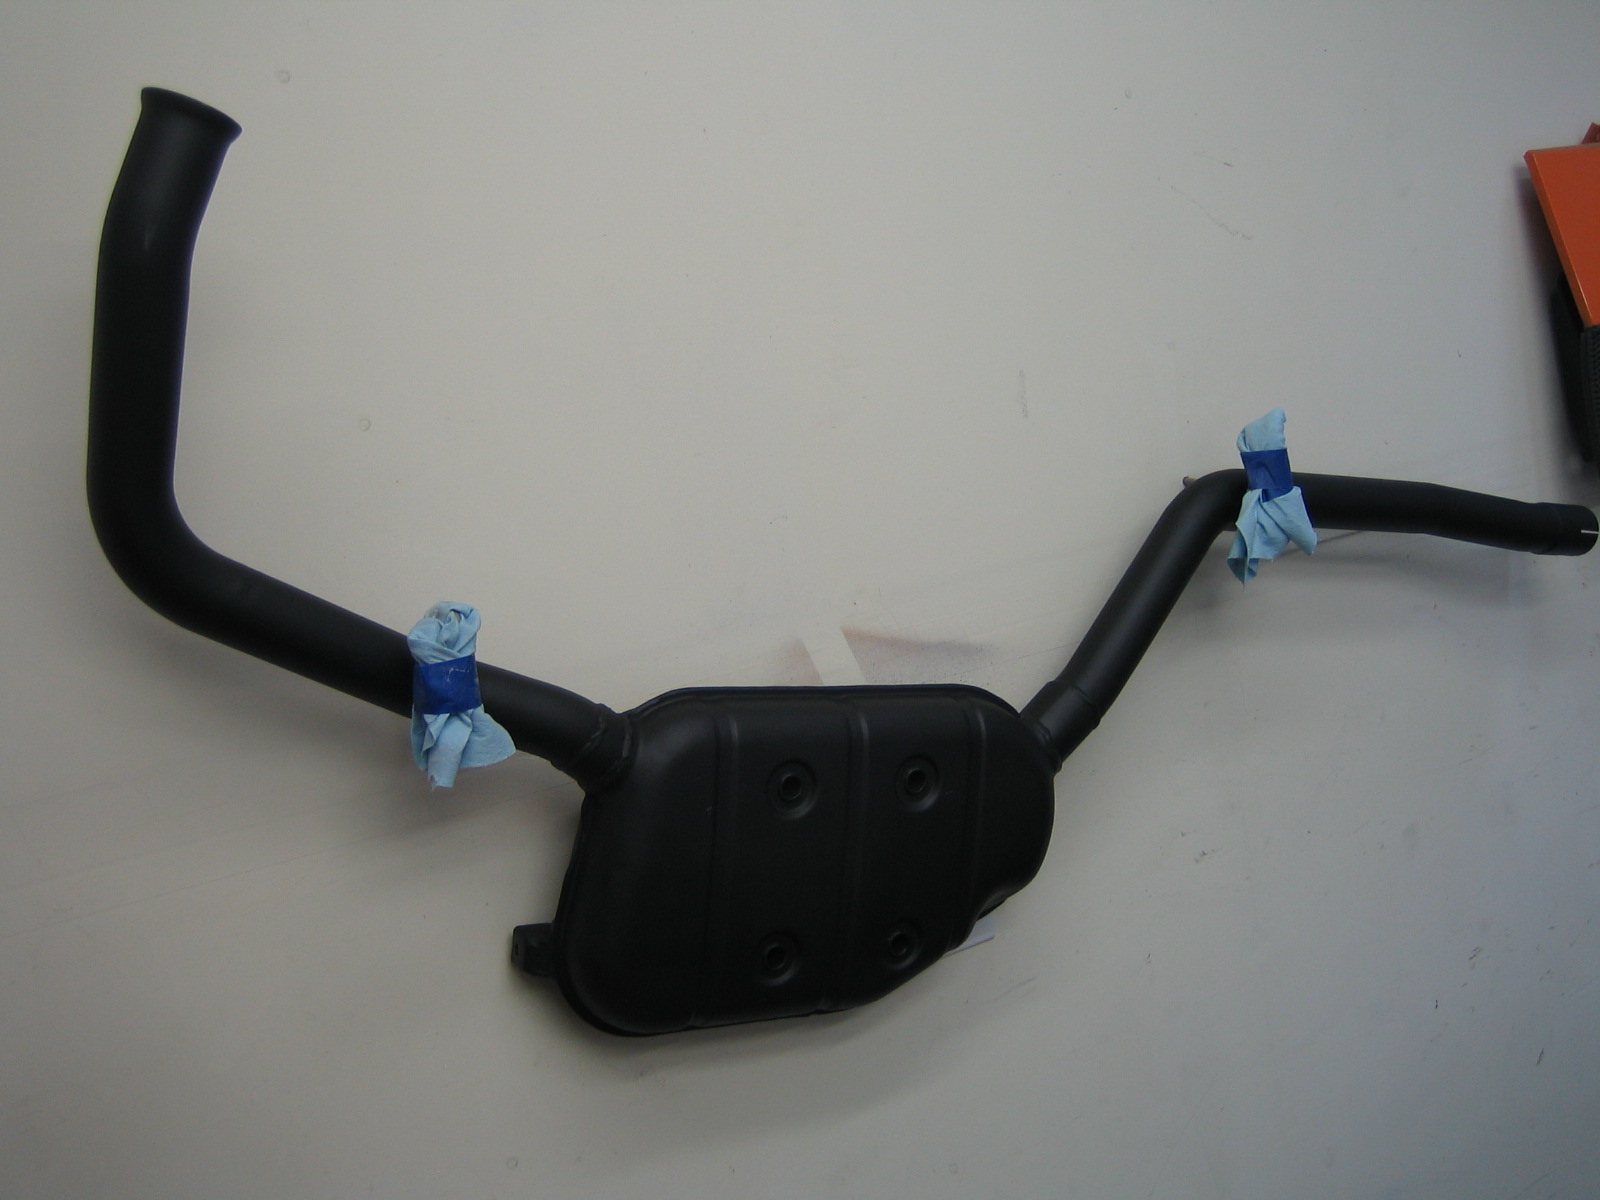
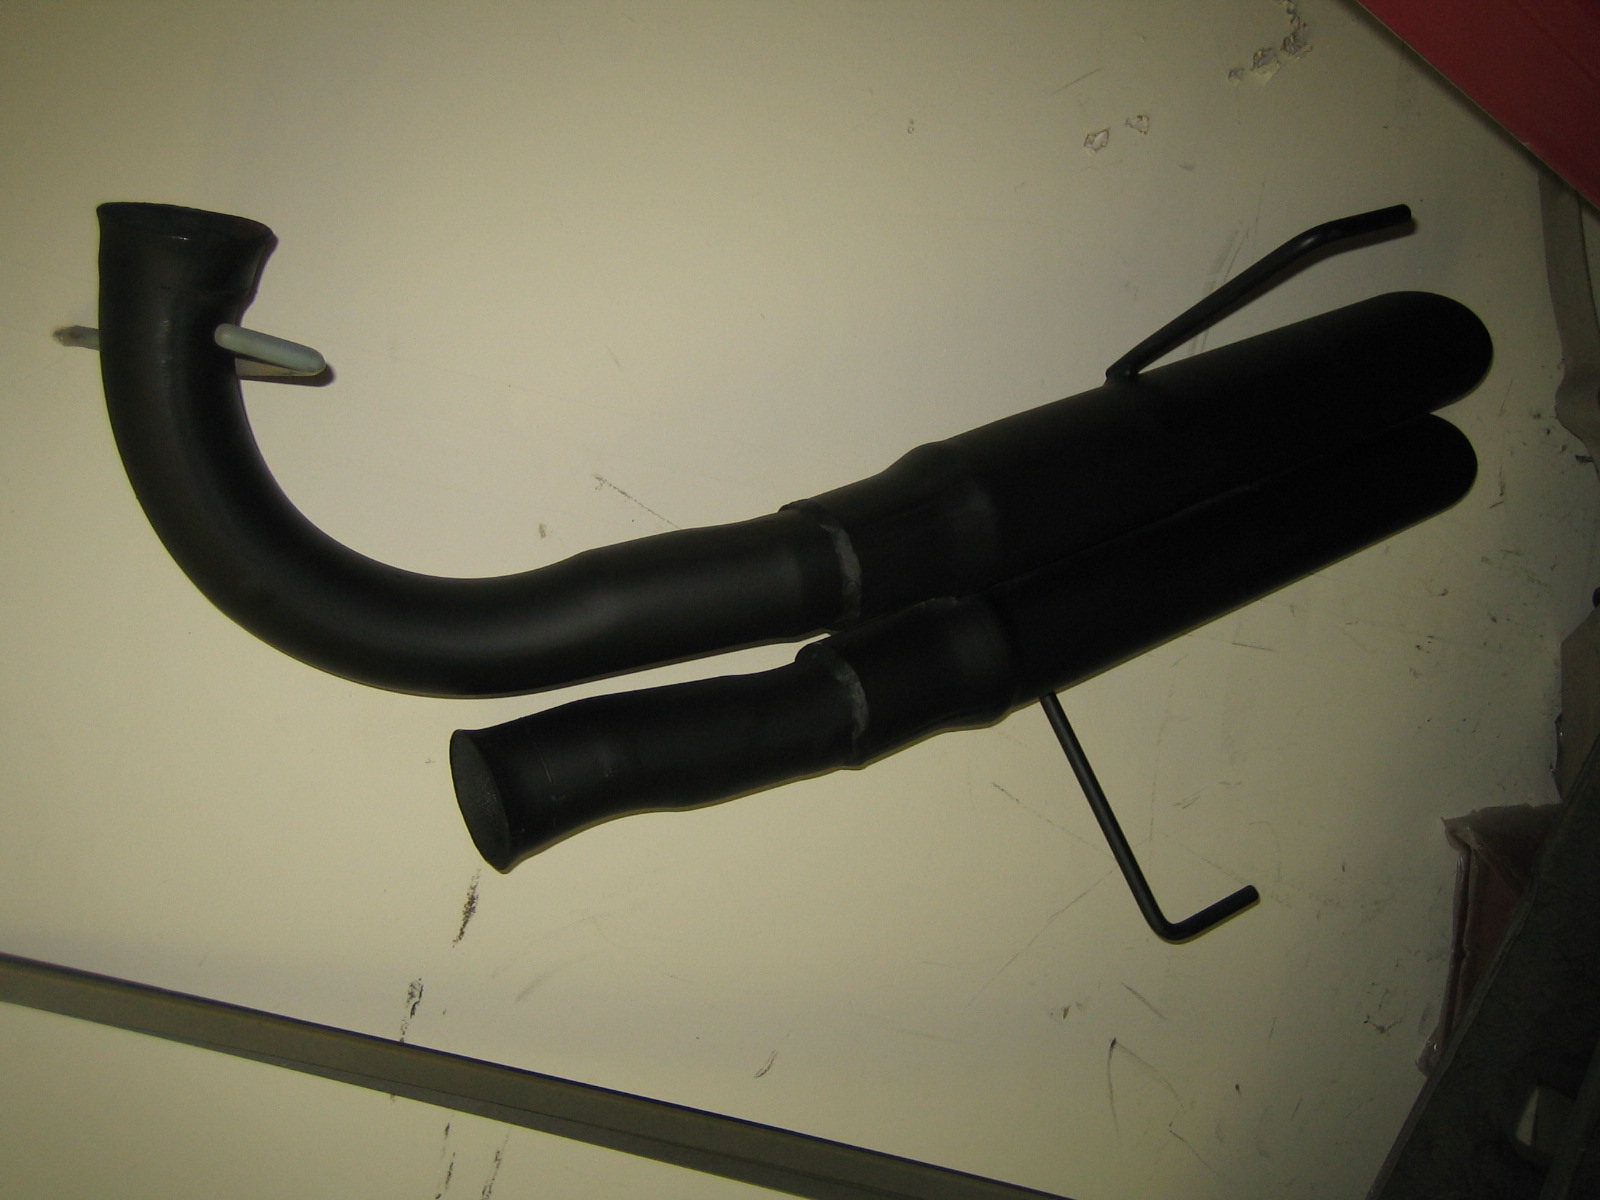
Stripped and repainted the brackets on the back of the hub which route the wiring harness, also the RMB was looking in a sad state so got some high temp paint and refinished. Had some left over so did the intermediate mufflers too!

With the bearings in the mail their first stop is the freezer, the carriers went in the oven at 250F for 30mins. One of the bearings dropped straight in the other needed only gentle persuasion. I then covered the bearings and sprayed some clear.
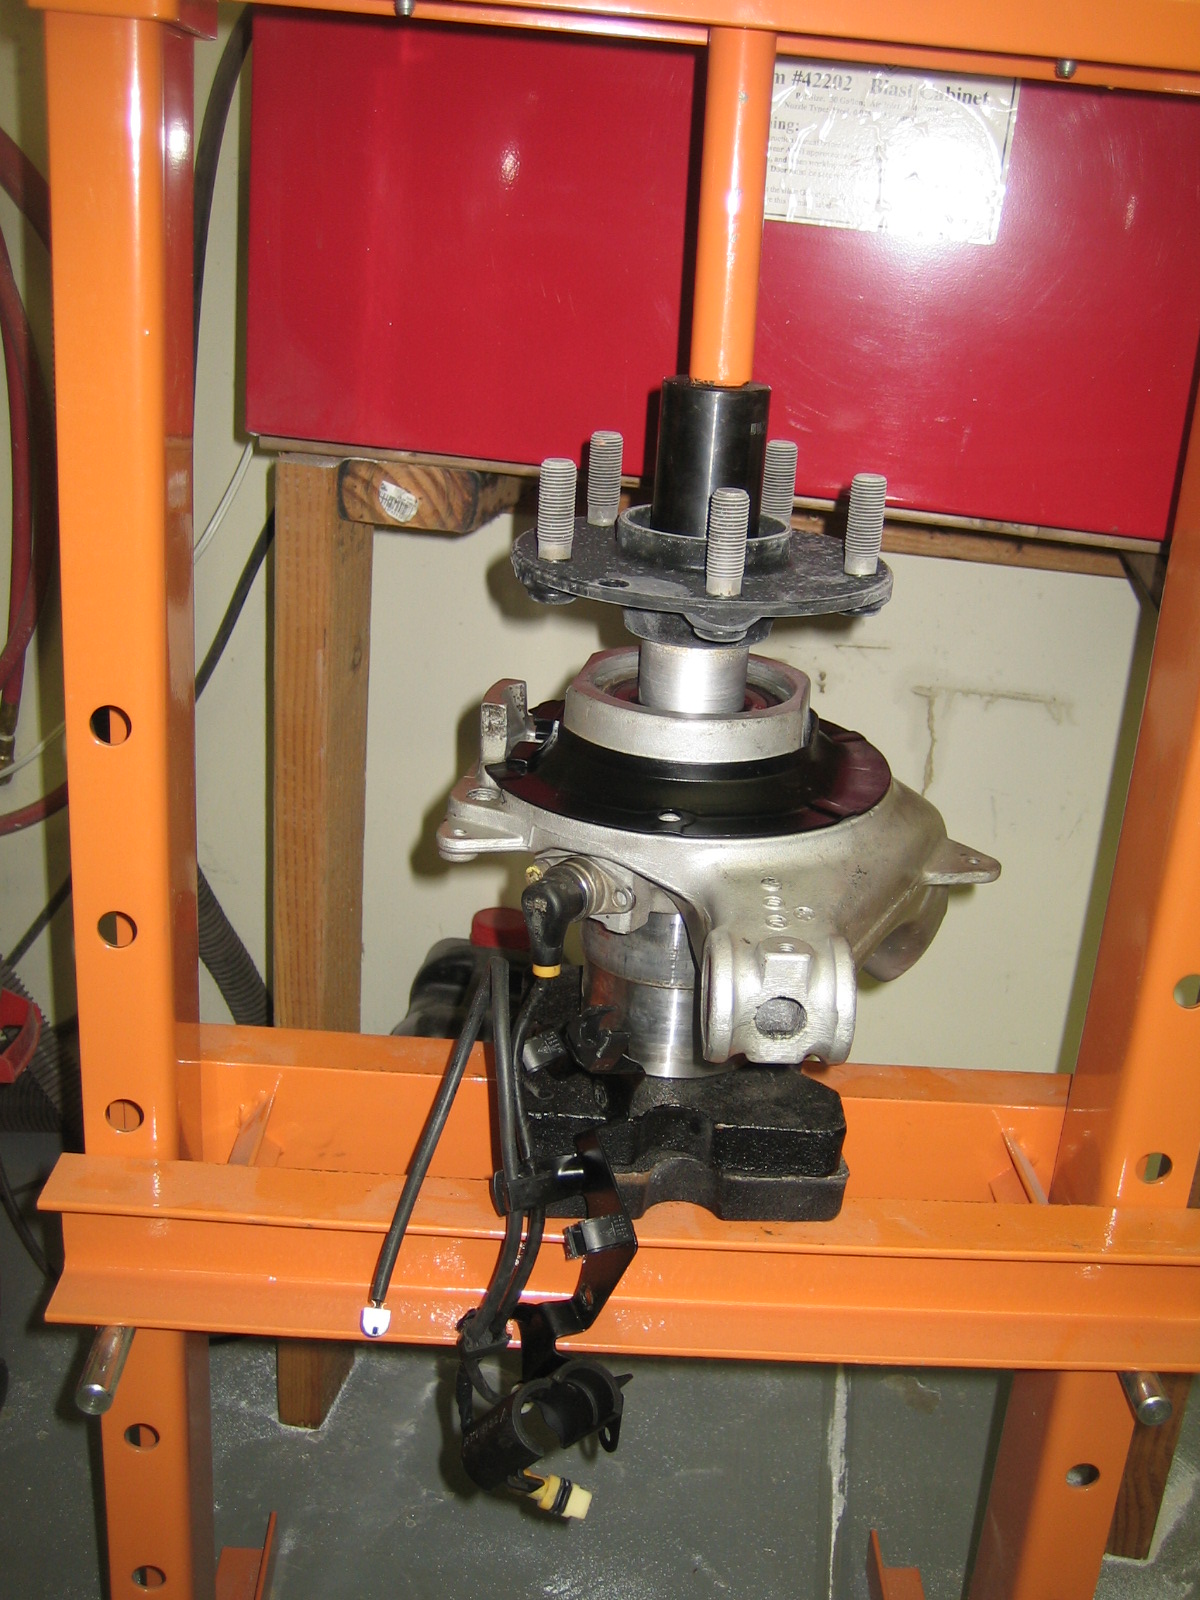
Next the hubs went in the freezer, however, even with the assistance of temperature they were a tight fit and I needed the press. Note the frost ....
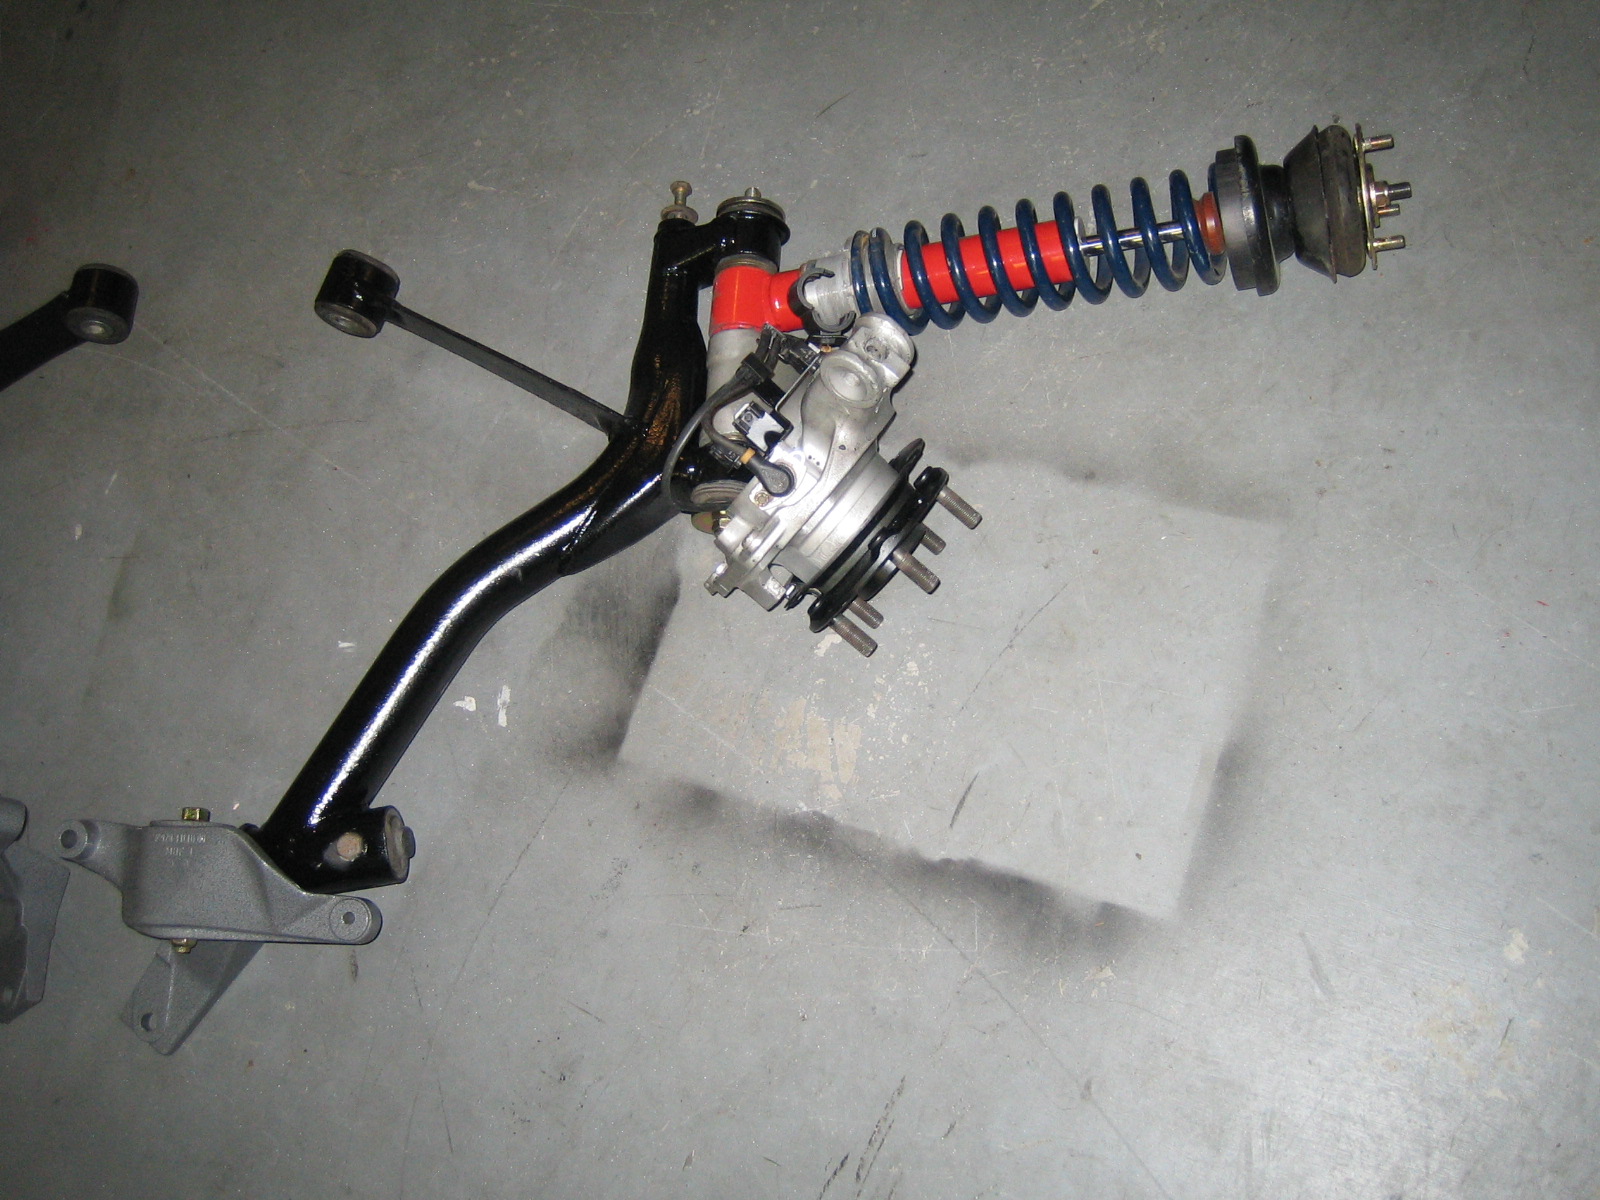
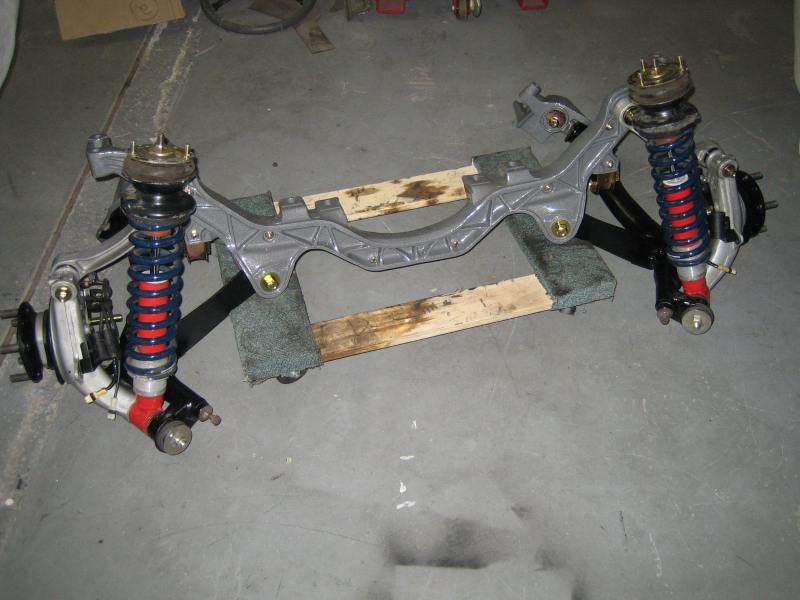
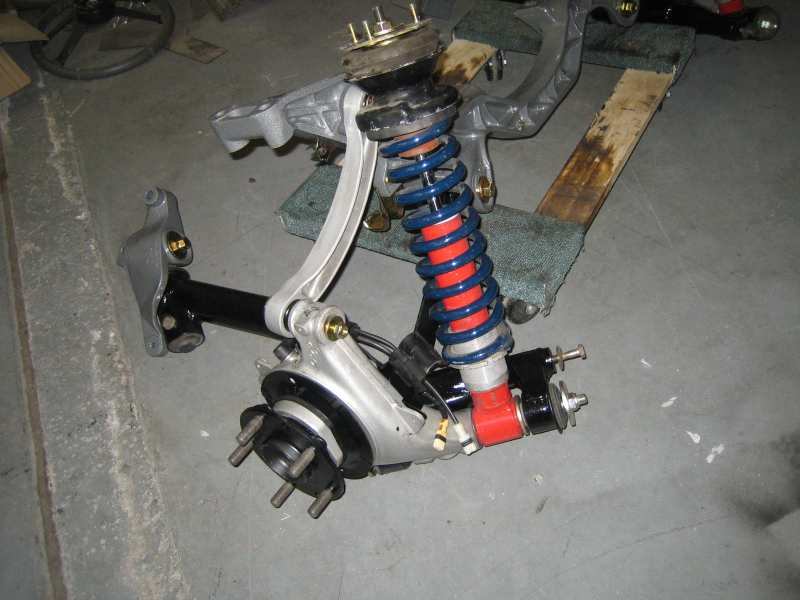
More assembly, be nice when it can go back on the car!
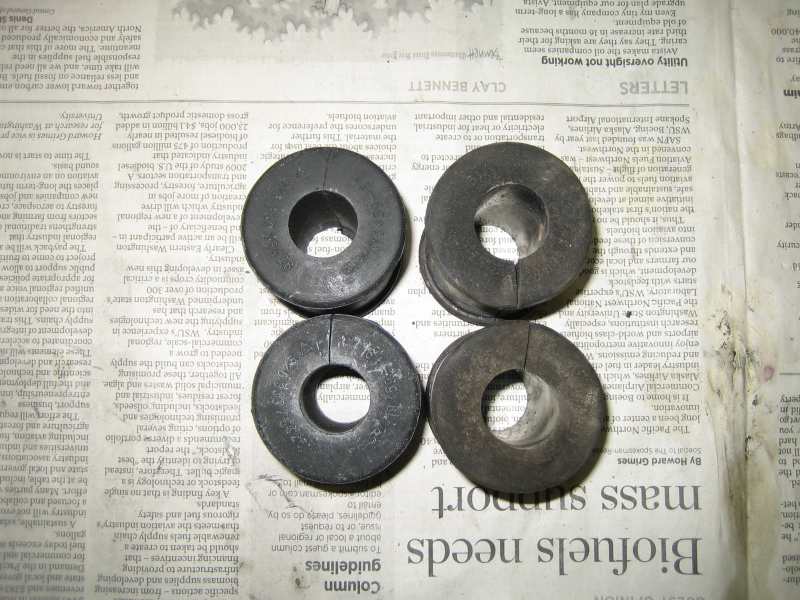
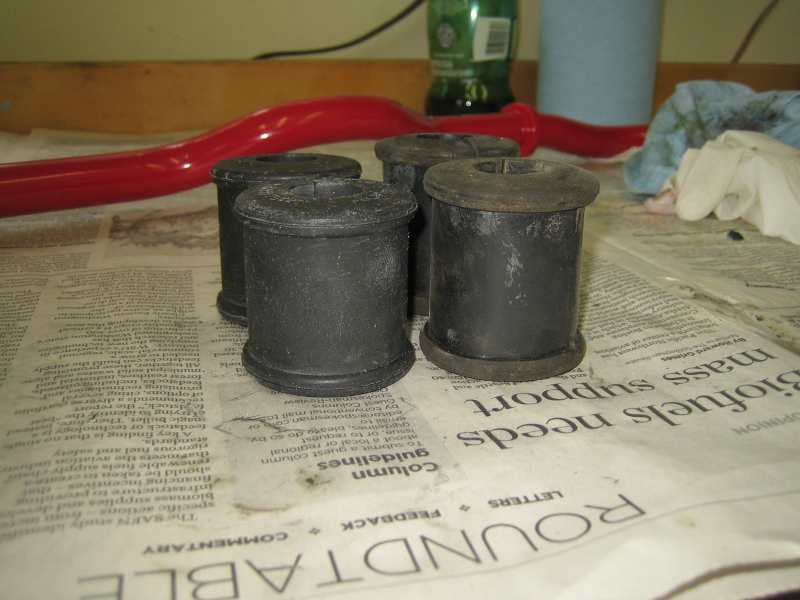
Rear sway bar bushes, you can see the old ones don't look too bad after 25 years but seeing as the rear bar is such a PIA to remove cheap to replace.