
I have had the bushings for a long while but hadn't got around to putting them in. For one its a PITA job but seeing as I was going to have to do the pan gasket again I decided it was as good a time as any and with the rack removed it would leave more room under the car too.
Car loves to duck and dive on the rutted freeway, I doubt these bushings will solve it but a) you never know and b) it can't do any harm !!
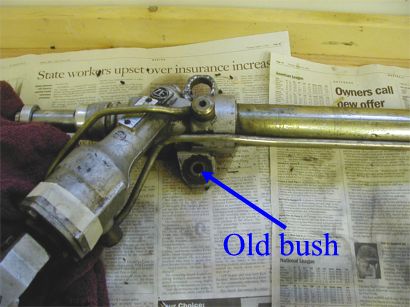
So 1st shot below shows the last of the old bushings in the rack, the metal that is bent over is pretty flimsy but when they went in they did so with a press and the outer rim is crimped pretty hard. Once the crimp had been reversed (not pretty) I bashed the bushing out with a socket.
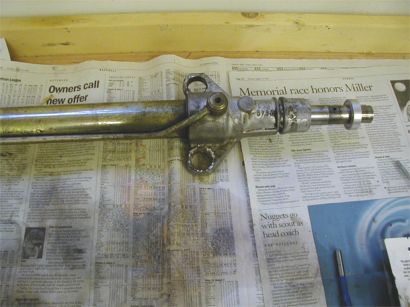
Now to press the new ones in ......
 So
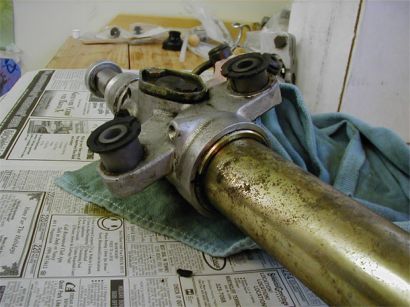
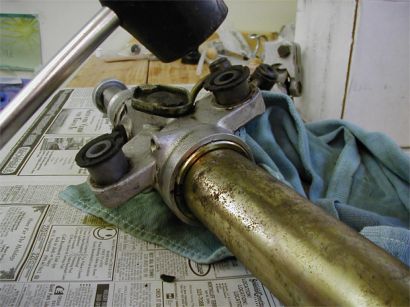
they went in much easier than the old ones came out, tap with a rubber mallet
and ..
So
they went in much easier than the old ones came out, tap with a rubber mallet
and ..
 bend
the tabs over, then I gave the rack a thorough clean.
bend
the tabs over, then I gave the rack a thorough clean.
Because I didn't tighten the cork gasket down tight enough last time it never did reseal once I re-tightened, unimpressed with the flimsy cork I bought a more updated one impregnated with rubber. http://www.ultramaticdynamics.com. Others have reported long term success with this ... we shall see.
Have been using Mobil 1 and the pan is a lot cleaner (inside) than when I last removed it, detergent must be working well.
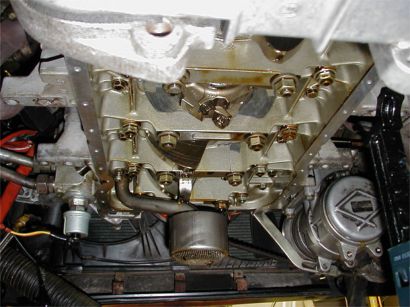
 Here you can see the engine hoist holding the weight of the engine with the
x-member removed, with the hood off access to the engine bay is much improved
too. I lowered the engine onto jack stands where the motor mounts attach to the
block if I had to leave the engine without the x-member for any period of time.
Here you can see the engine hoist holding the weight of the engine with the
x-member removed, with the hood off access to the engine bay is much improved
too. I lowered the engine onto jack stands where the motor mounts attach to the
block if I had to leave the engine without the x-member for any period of time.
 Can see the GTS baffler a prior owner had fitted. Clean too :-)
Oil pressure has not been right since I have had the car, could be a bad dash gauge but with the pan gasket off its a cheap and worthwhile item to do WYAIT. Last time I was in a rush to put the car back together ... As you may have read earlier this is a replacement auto engine so I gave the thrust bearing a visual and all looks OK, phew.
I have since removed the strainer for the oil pump to give better access to the bearings, difficult to get a good shot as the bottom part of the engine is pretty much in your face when you are under the car.

Off to the store tomorrow to get some plasti-gauge and then to order the bearings. I also removed the spark plugs so rotating the engine would be easier.
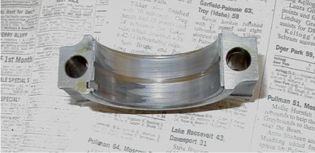 So here is the lower half
of rod No2, this is not good.
So here is the lower half
of rod No2, this is not good.
Table to show bearing clearances in mm.
|
1 |
2 |
3 |
4 |
5 |
6 |
7 |
8 |
|
| Old |
|
>0.07 |
|
|
|
<0.05 |
|
|
| New |
|
<0.05 |
|
|
|
<0.05 |
|
|
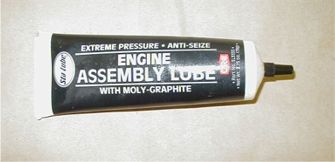 |
Here is the assembly lube I used to coat the bearings with on re-assembly |
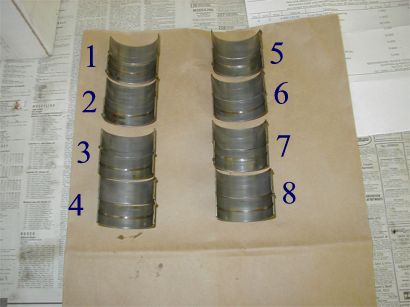 |
All the bearings, 1 and 2 both showed signs of wear on the lower shell. |