This is not a step by step instruction guide, this has already been done by people far better at it than I, the links I used to have are now broken but Rennlist should have plenty of reference material.
On occasion I resorted to the workshop manuals too.
After the intake I have learnt my lesson, replace everything while you are in there unless you like revisiting the same task multiple times. Sure you get better at it but variety works for me. So ... to begin with I ordered everything but the waterpump, reason for this is it would stop me putting it all back together if I found something that should be replaced while I was in there. I figured I would dismantle everything and then do another order, hey, it works for me :-)
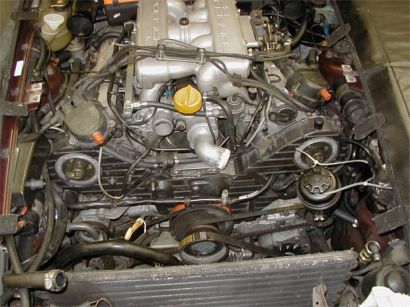
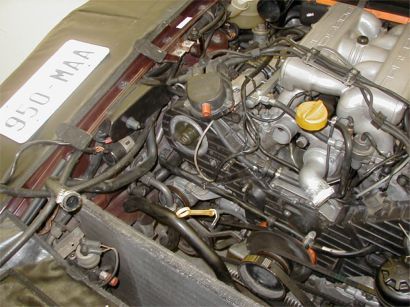
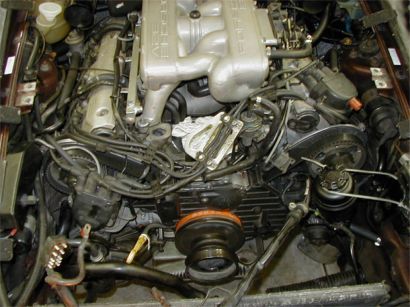
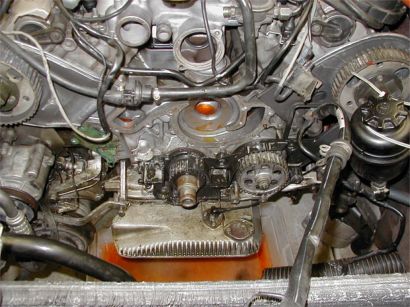
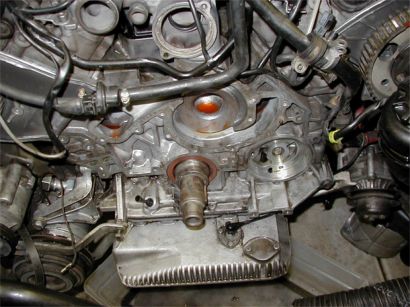
First job is to remove the radiator and associated cooling pipes, both oil and water, this makes the whole engine much more accessible.
|
|
|
|
I missed a couple of items when I removed the intake, one was the seal behind the thermostat and the other was the knock sensor, if you remove the thermostat housing and oil filler kneck you can get to the front knock sensor without removing the intake, cunning ....
 |
Here you can see rags placed over the hole to the waterpump and the hole to the sump, no debris going down there thankyou. |
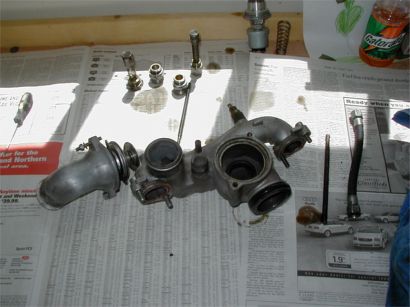 |
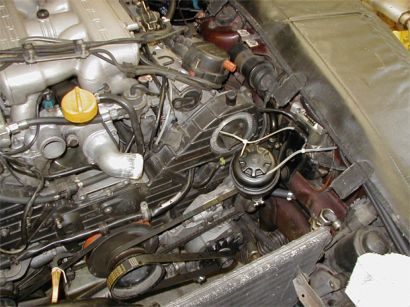
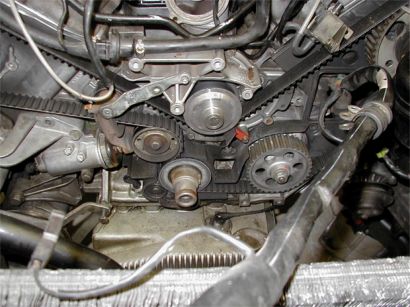
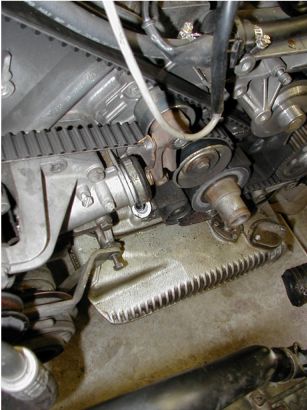
So here is the thermostat housing removed, behind and to the left are the oil bypass and pressure release valves. I decided to check for wear but they look OK. |
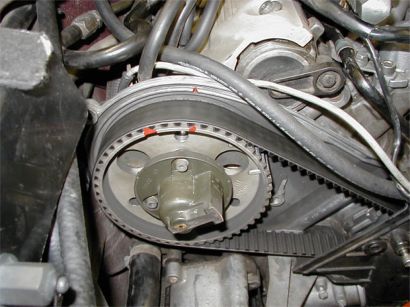
Next job is to align the Camshaft sprockets to the 45degree mark, then to loosen the crank bolt. I broke my 1/2" extension trying this but a more sturdy item I bought from Home Depot was man enough. I also needed an extension on top of the breaker bar to get the think loose.
 |
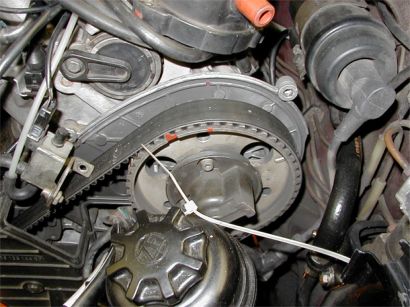 |
45degree marks added |
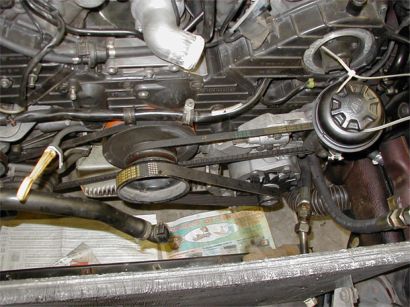
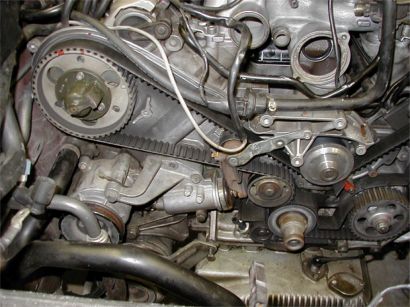
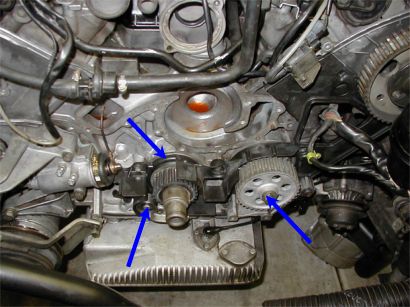
Once the Crank bolt is off the next batch of disassembly can begin, first the lower belt cover, then remove the idler pulleys. This will allow the belt to be removed whohooo !!!
 |
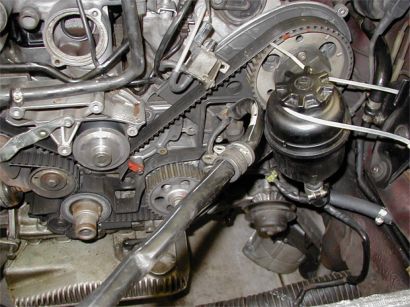
Tensioner now Removed, the gasket was in bad shape and I am pretty sure this is where one of my oil leaks was coming from. |
 |
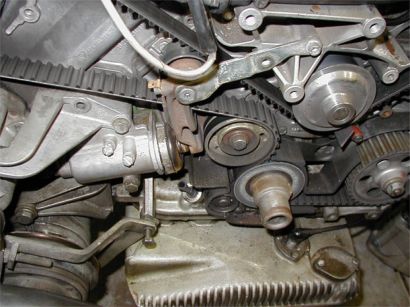
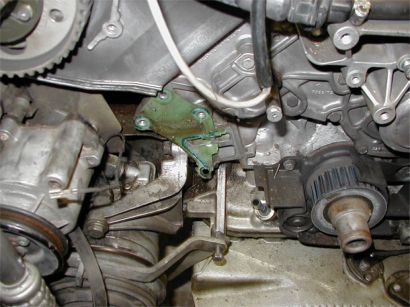
Water pump out, my prayers for no snapped bolts obviously had some affect ... |
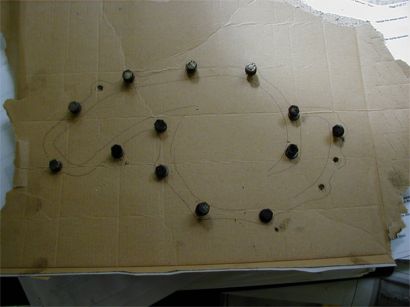 |
As I didn't have a new waterpump to put the old bolts in as they came out I made this template form the gasket. |
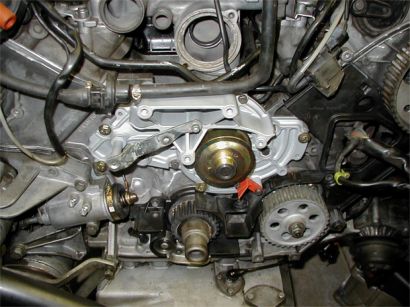
So everything removed in the following picture except the main seal.
When I took the tensioner apart the springs were held together with thick black sludge, looks like someone had put grease in the housing rather than oil. A real mess to clean.
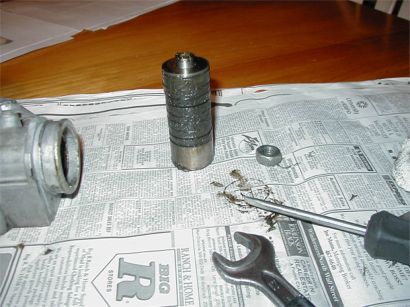
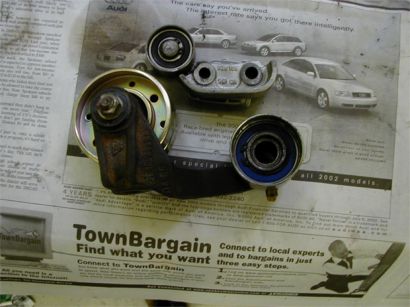
I bought a new large roller for the tensioner but the idler roller and also another roller down by the crankshaft were both shot too. With advice from another 928 owner I drove the bearings out of the sleeve and went to a local supplier and picked up some new bearings. Approx $200 worth of savings !!!
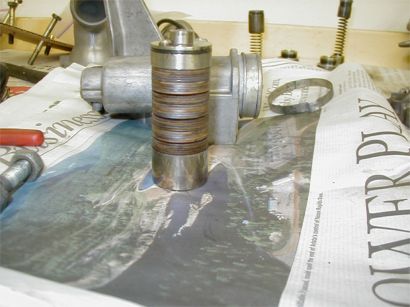
Here you can see the new and old bearings plus the sleeves and them them both assembled on their housings.
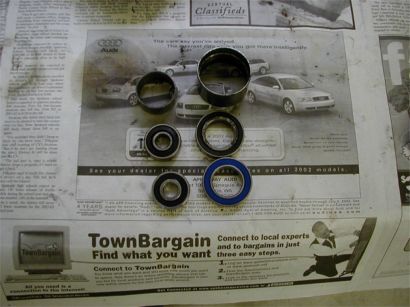
So my parts order arrived, new o-ring, seal and sprocket on the oil pump, crankshaft seal replaced. Rebuilt water pump sure looks shiny :-)
Update 8th August 2002 :
Well its all back together now, the tensioner likes leaking oil but only after the engine is hot ... I stripped the engine back down but could find nothing wrong with the tensioner. It seems the oil is leaking on the outer edges of the rubber boot so I tightened but still seems to leak. I am going to order another boot, maybe there is a small hole somewhere.
Update 8/25/02 :
Yep the boot had a small tear about the same size as one of my small screwdrivers .. ooopps. Only me to blame ... After repairing, the tensioner still leaked but from somewhere else, well where there should be bleed valves there were bolts, now the oil was leaking past these. I shortened the bolts so they wouldn't bottom out and put an o-ring over the thread. All seems to be good now !!!
Actually for the first time ever I think there are no oil leaks, my garage floor is bone dry, wow.
----------------------------------------------------------------
During all this I replaced the rotor arms and caps, the old ones were toast, engine revs much better now.
To conclude this job is well within the capabilities of most DIY mechanics, the key is to take your time.