Well 2 years ago I was going to embark on modifying the suspension and then the engine rebuild got in the way and last Winter it was the paint job. To ensure the same did not happen this year I started to disassemble the suspension before I had even decided what to replace it with. I decided to start on the rear as that seemed the easier of the two.
I was pretty lucky in that none of the bolts/nuts holding the assembly on gave up much of a fight (got to be thankful for that!) and it was all straight forward.
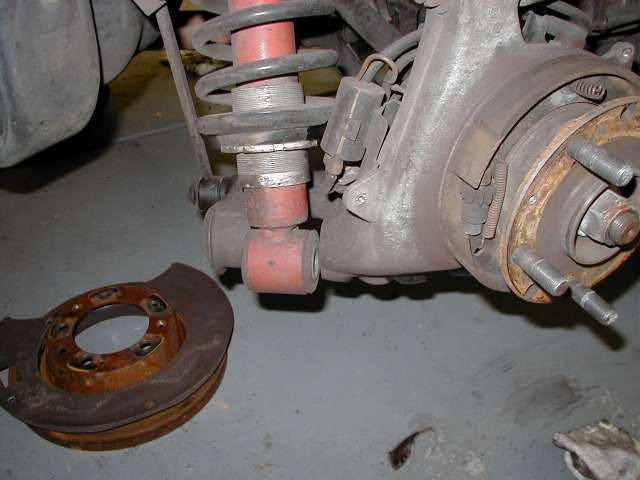
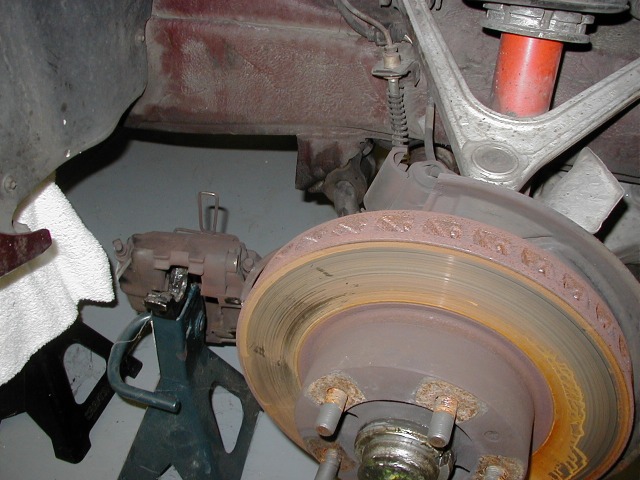
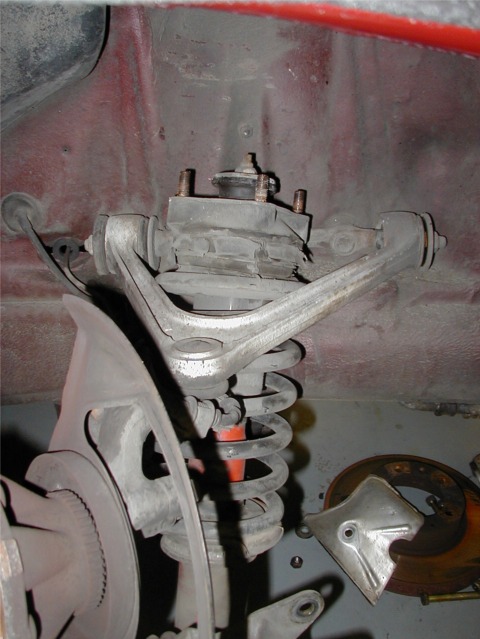
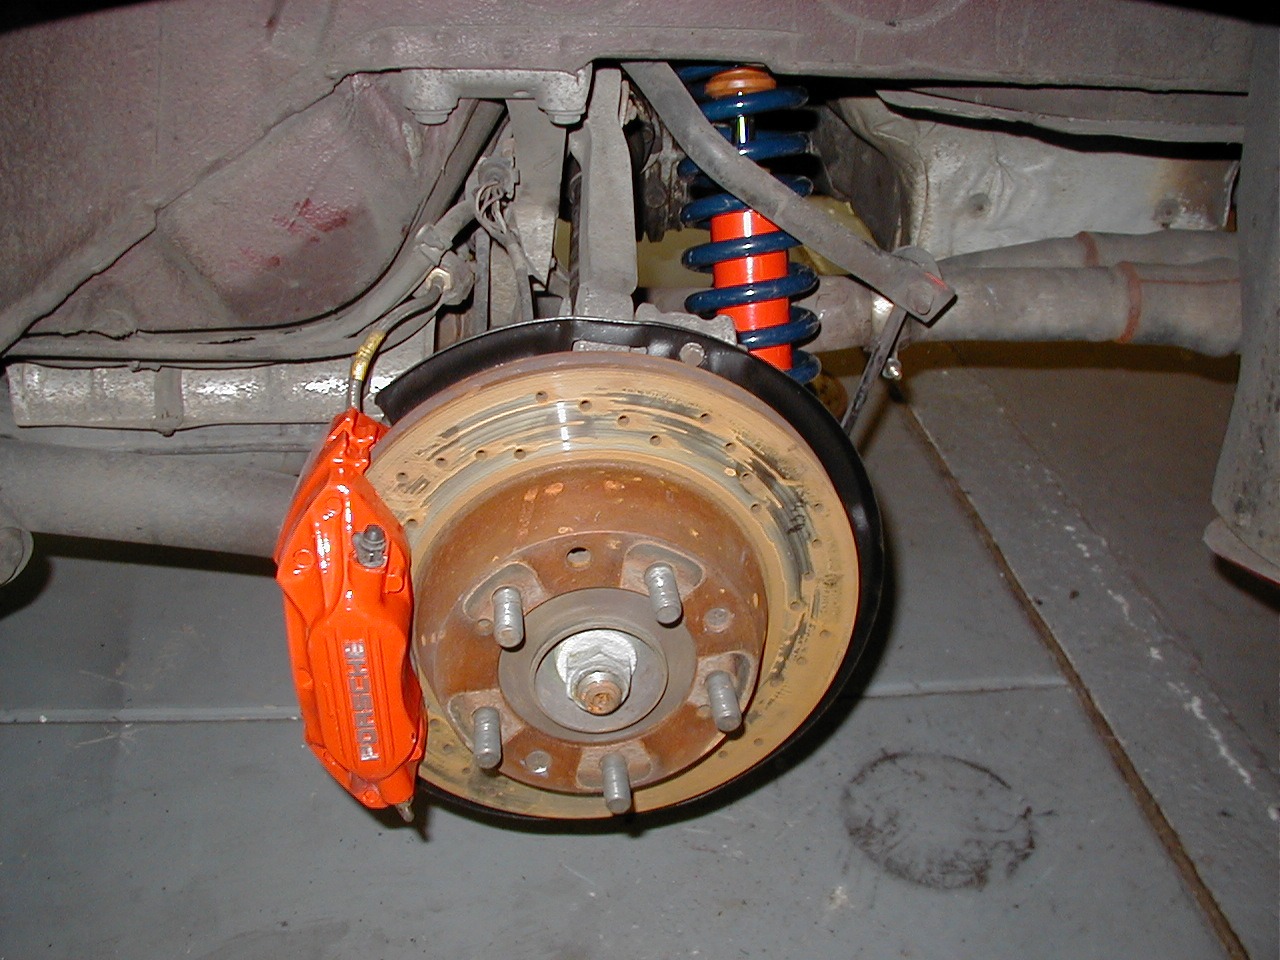
I removed the brake caliper, rotor and shield which gives great access to the nut on the lower mount assembly, with the nut removed I just tapped out the bolt with a socket extension.
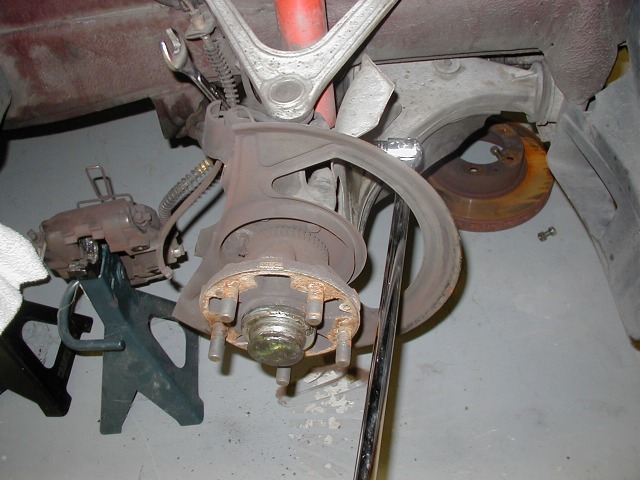
After that it is just a matter of unbolting the 3 nuts inside the hatch and the coilover assembly drops down.
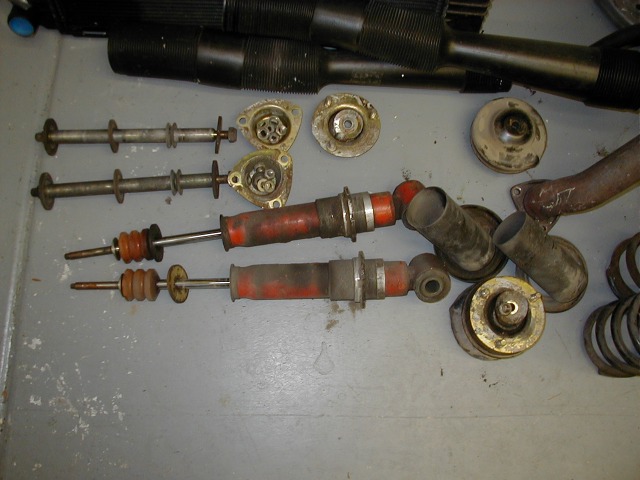
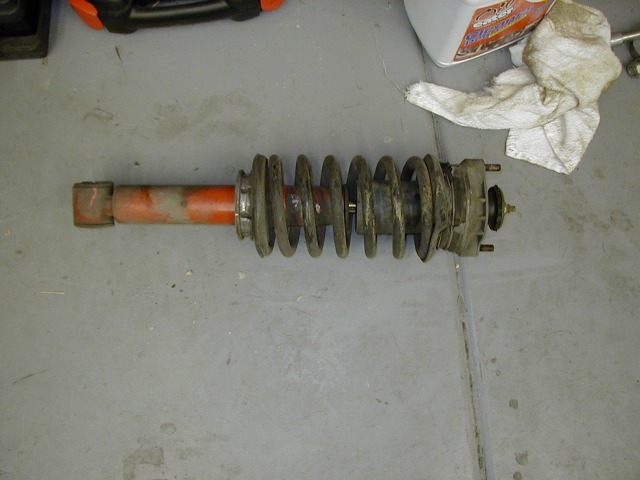
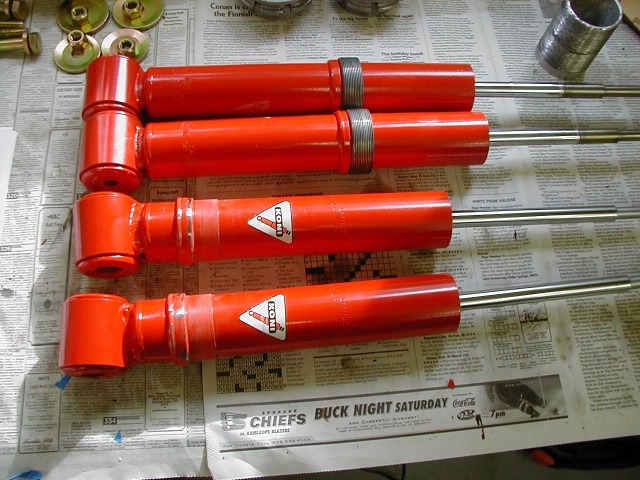
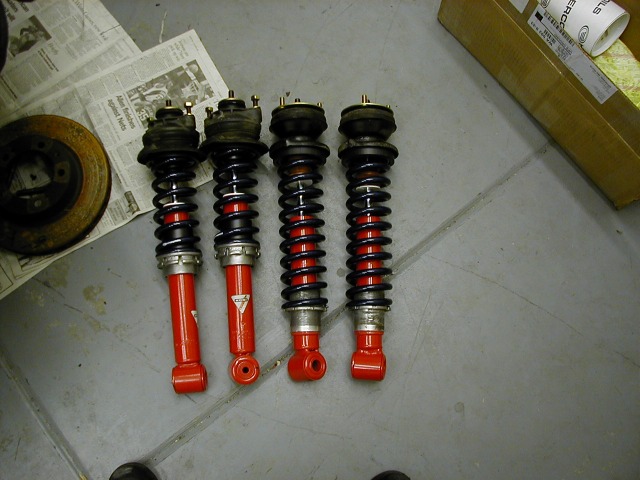
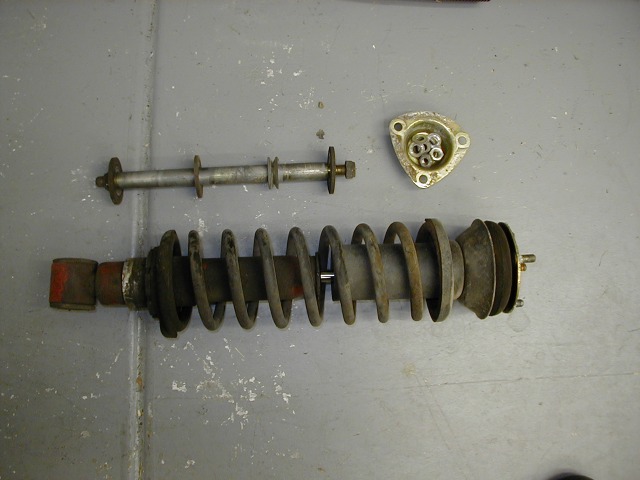 Here you can see the coilover with all the associated hardware.
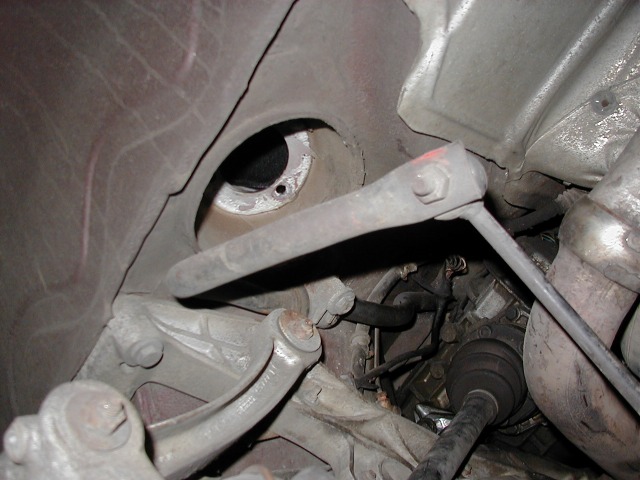 This
is the space left behind! There was some kind of mastic on the top of the shock
against the body, I presume to prevent water ingress.
This
is the space left behind! There was some kind of mastic on the top of the shock
against the body, I presume to prevent water ingress.
 All ready for new Suspension !!
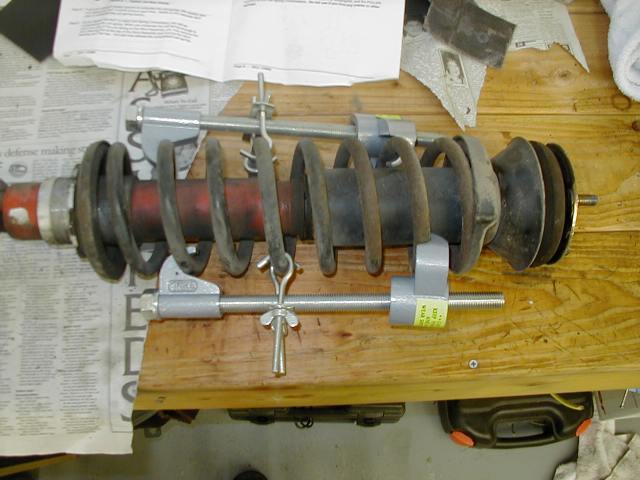
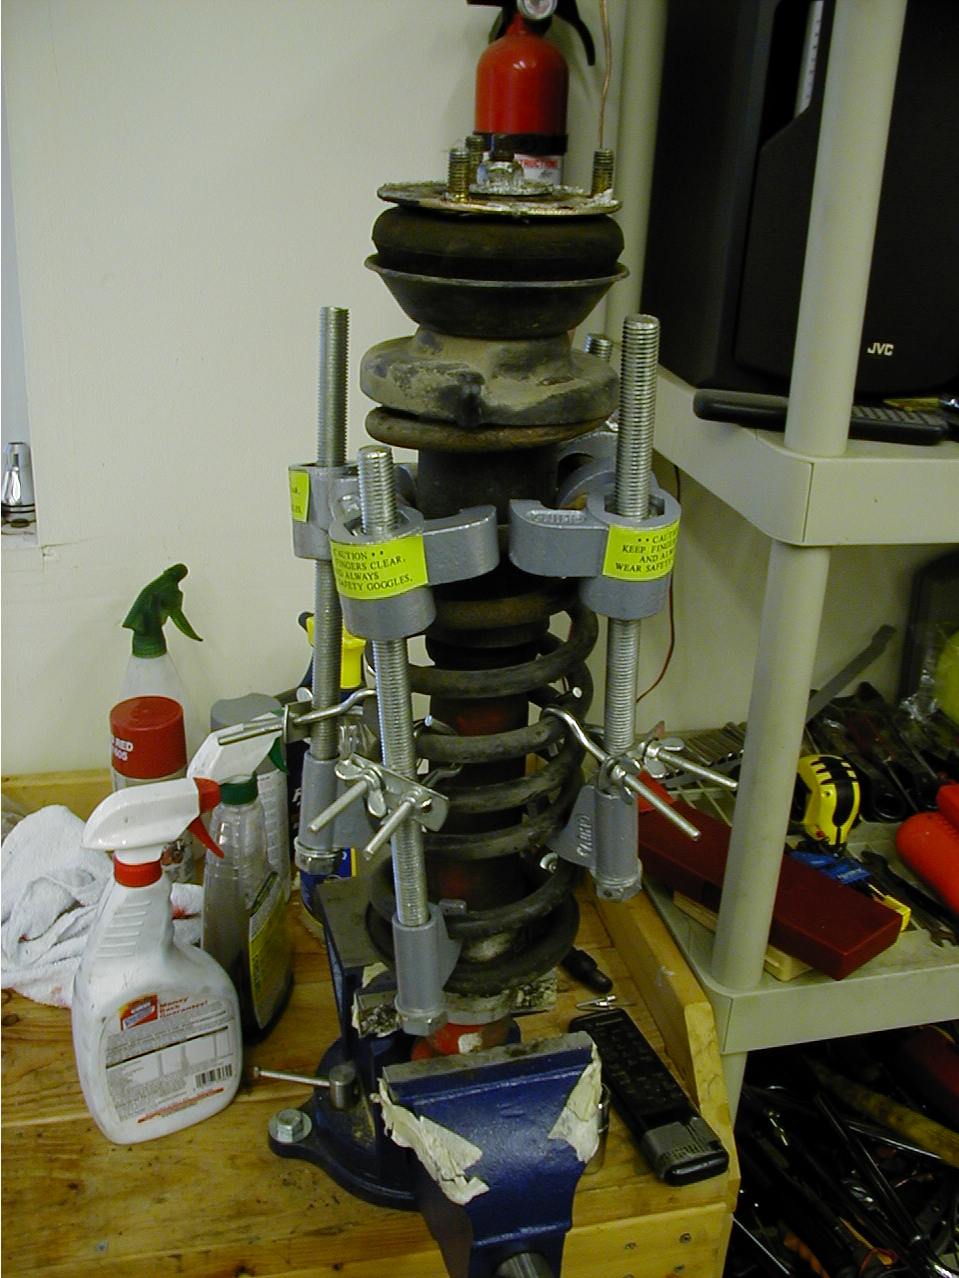
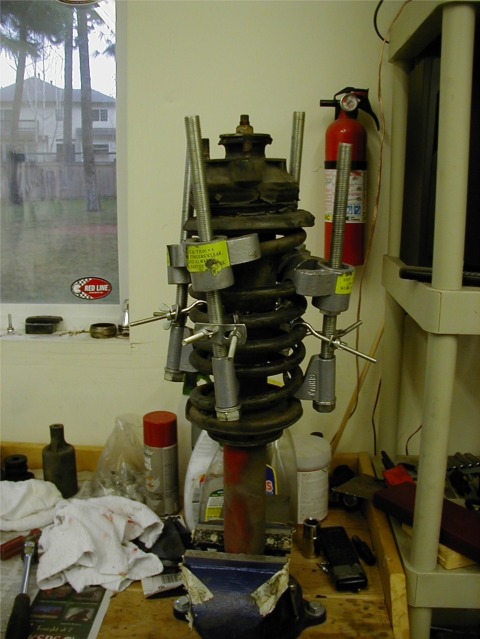
On the bench I used 4 compressors to loosen the spring, this was the advice from another PACNW owner who had been through this before, it is tough to get the spring to compress all the way with just 2. In the vice it was just a matter of compressing the spring and then loosening the nut at the top of the shock and removing the upper mount assembly.

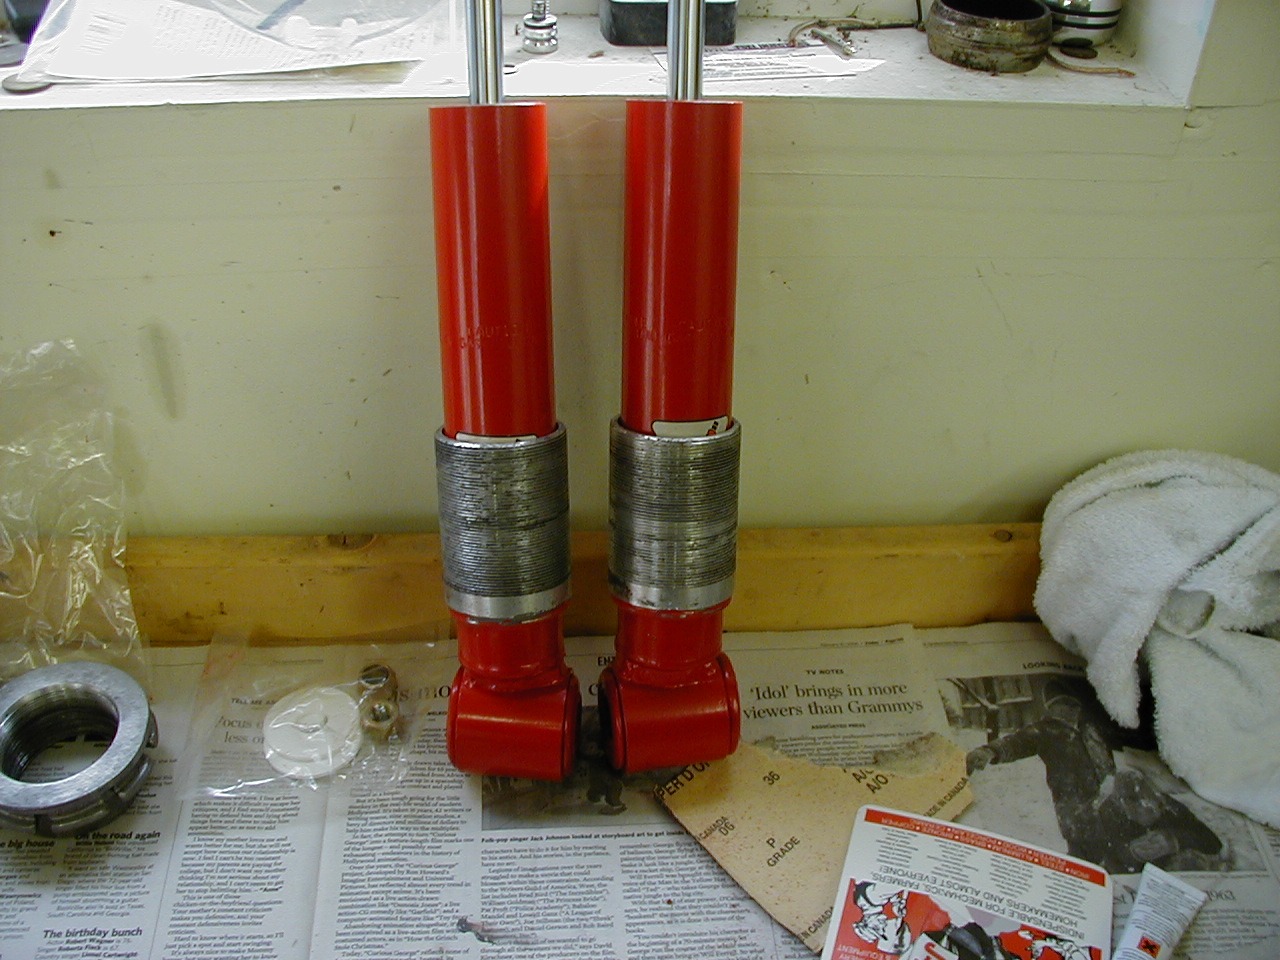
Some clean up to do here as well as removing the threaded sleeves on the shocks.


Front
Remove the brake caliper and move to the side, support so as not to stress the brake line.
 Note
dirty brake caliper, gonna get some cleaning.
Note
dirty brake caliper, gonna get some cleaning.
I removed the rotor, needs replacing anyway. Loosening the shock bolt takes some leverage, I got the sequence right this time. On the 1st side I unbolted the lower A-arm before I loosened this bolt .. bad move.
Now its time to loosen the retaining bolts for the lower A-arm and swing it out of the way.

After removing the 3 nuts for the upper shock mount in the engine bay, it is just a matter of holding the upper A-arm horizontal and the shock pretty much drops onto the floor.
The front spring is much harder to compress than the rear, takes a lot of work.
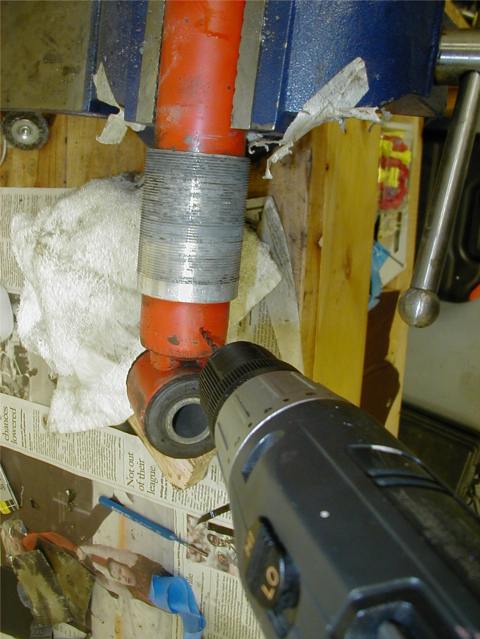
Removing the threaded collars from the front shocks was childs play, a hammer and a piece of wood was all it took. Now the rears were a different story, they were very well adhered to the shock body and were not going anywhere with the wood and hammer!
Someone on Rennlist had managed to remove them but it necessitated the destruction of the shock itself, hardly an issue considering the stated mine were in. To relieve and gas pressure I drilled a small hole in the base of the shock.
 |
Looked good until I got a t-shirt soaking of unpleasant smelling shock oil. On the 2nd shock I took all kinds of precautions so as not to repeat that experience only to find there was no pressure to release. Typical. |
I then hacksawed the bottom of the shock being careful to keep the shock orientated so the oil was at the opposite end, after draining the oil I then did the same to the top of the shock
 |
Here is the real trick, assemble the hacksaw inside the threaded collar an create a groove the length of what is left of the shock. Remains of the shock comes out easily. The inside of the threaded collar needed cleaning to remove debris. |
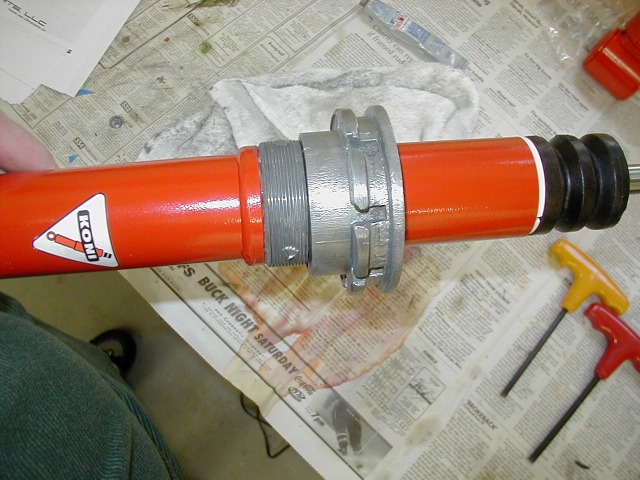
New shocks arrived and the first thing that needs to be done is to JB weld the threaded collars on the shocks. Leave to dry and then put the adjuster nuts on.
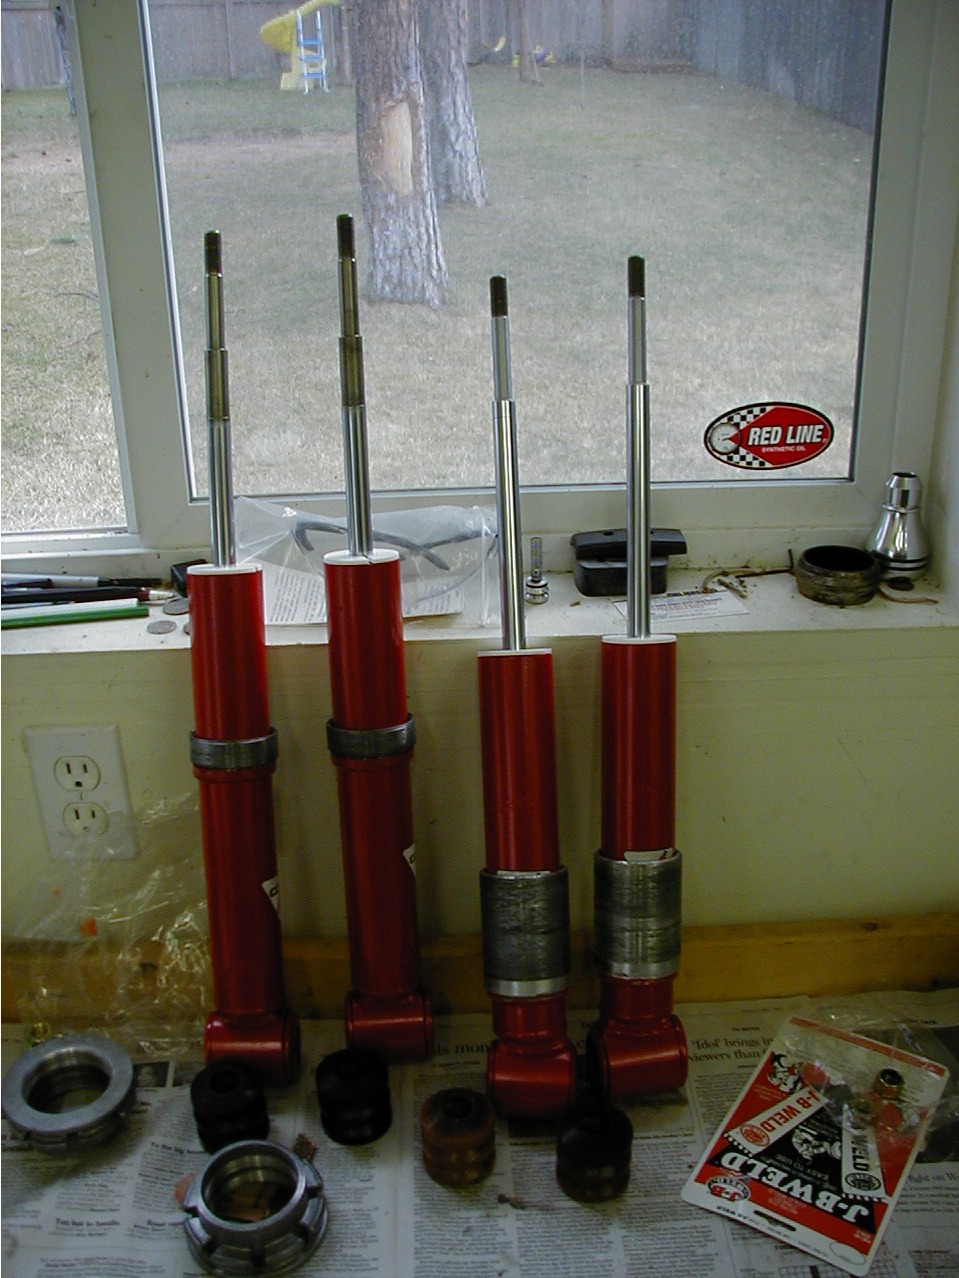
Had to wait another couple of weeks for the hypercoil kit to arrive, I chose 400ib rear and 600ib front. They were very easy to assemble and carl had good documents to help, there was no need for a spring compressor for either the front or rear assembly.
Putting back in the car was not too bad, the front were easier than the rears though, I had to get the wife to help (last resort that one) to help align the bolt with the holes in the trunk. By the way those calipers are red ... the flash changes them to orange.

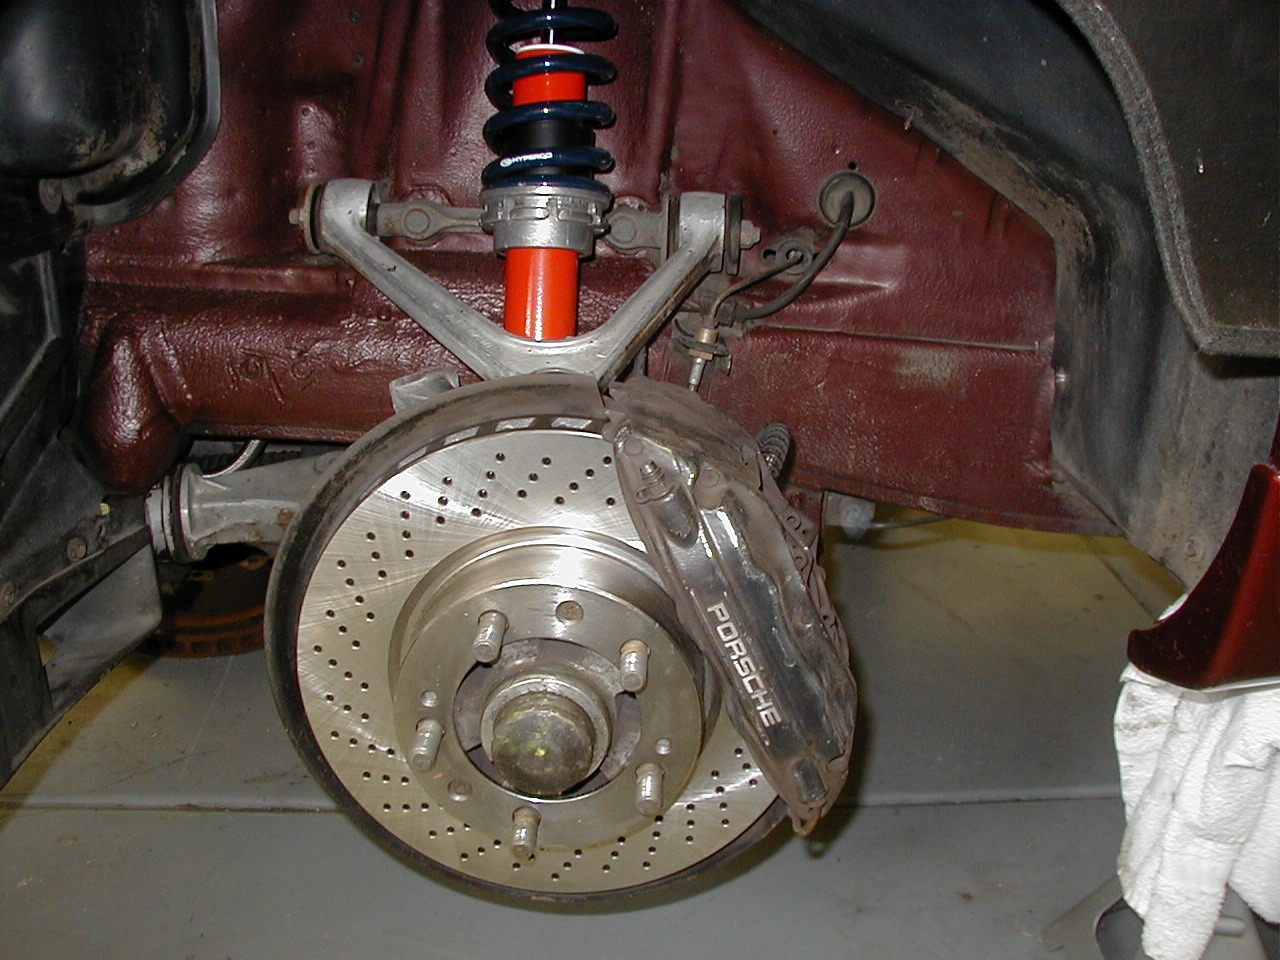
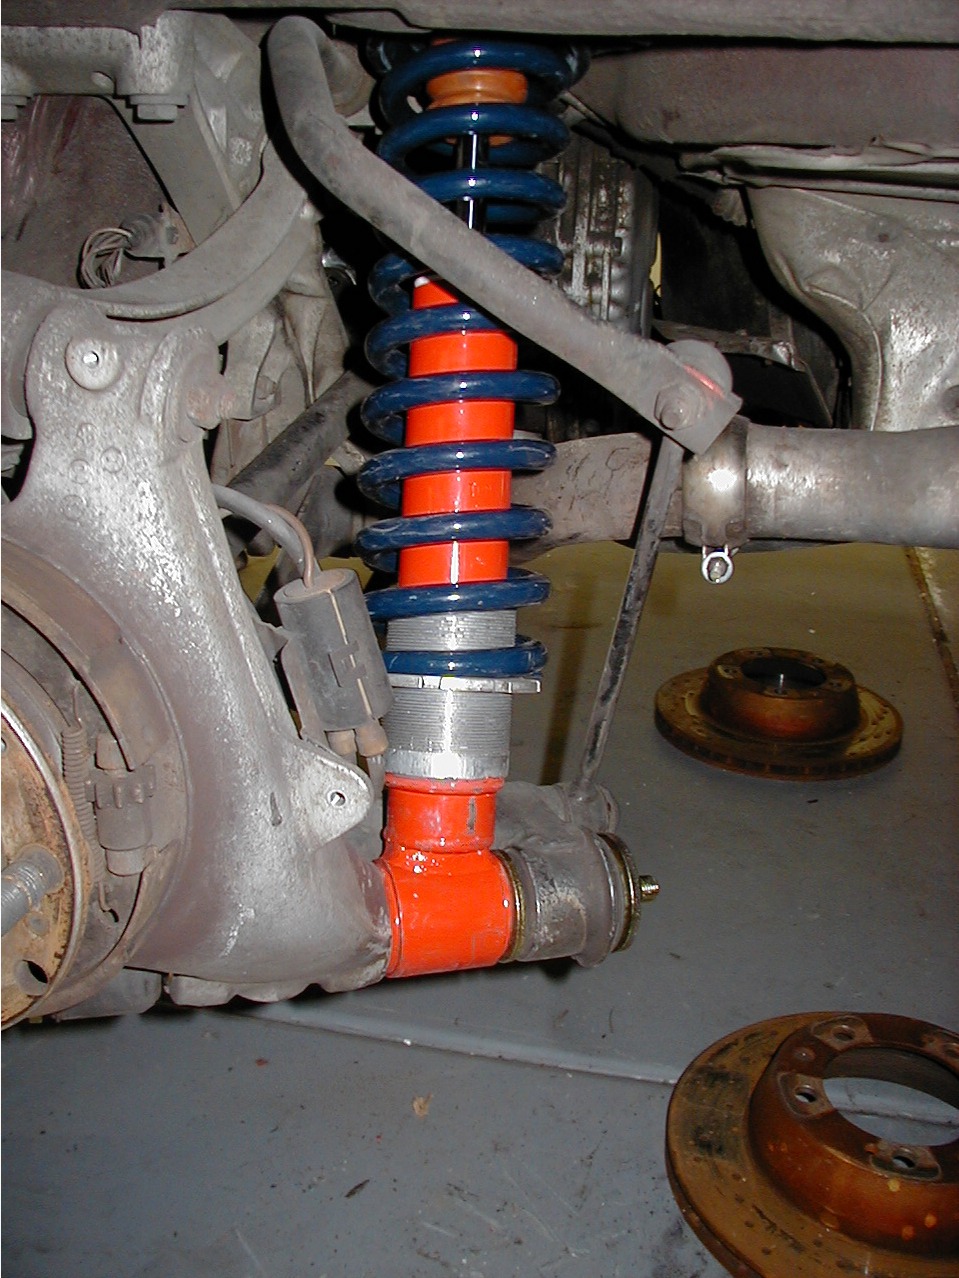
Here you can see the threaded top of the shock, protrudes more than standard and I purchased the adjustment too so I can adjust them while on the car. Right now I the shocks set at 25% and the right is way better than before, in reality could be stiffer but I will leave for the moment.
